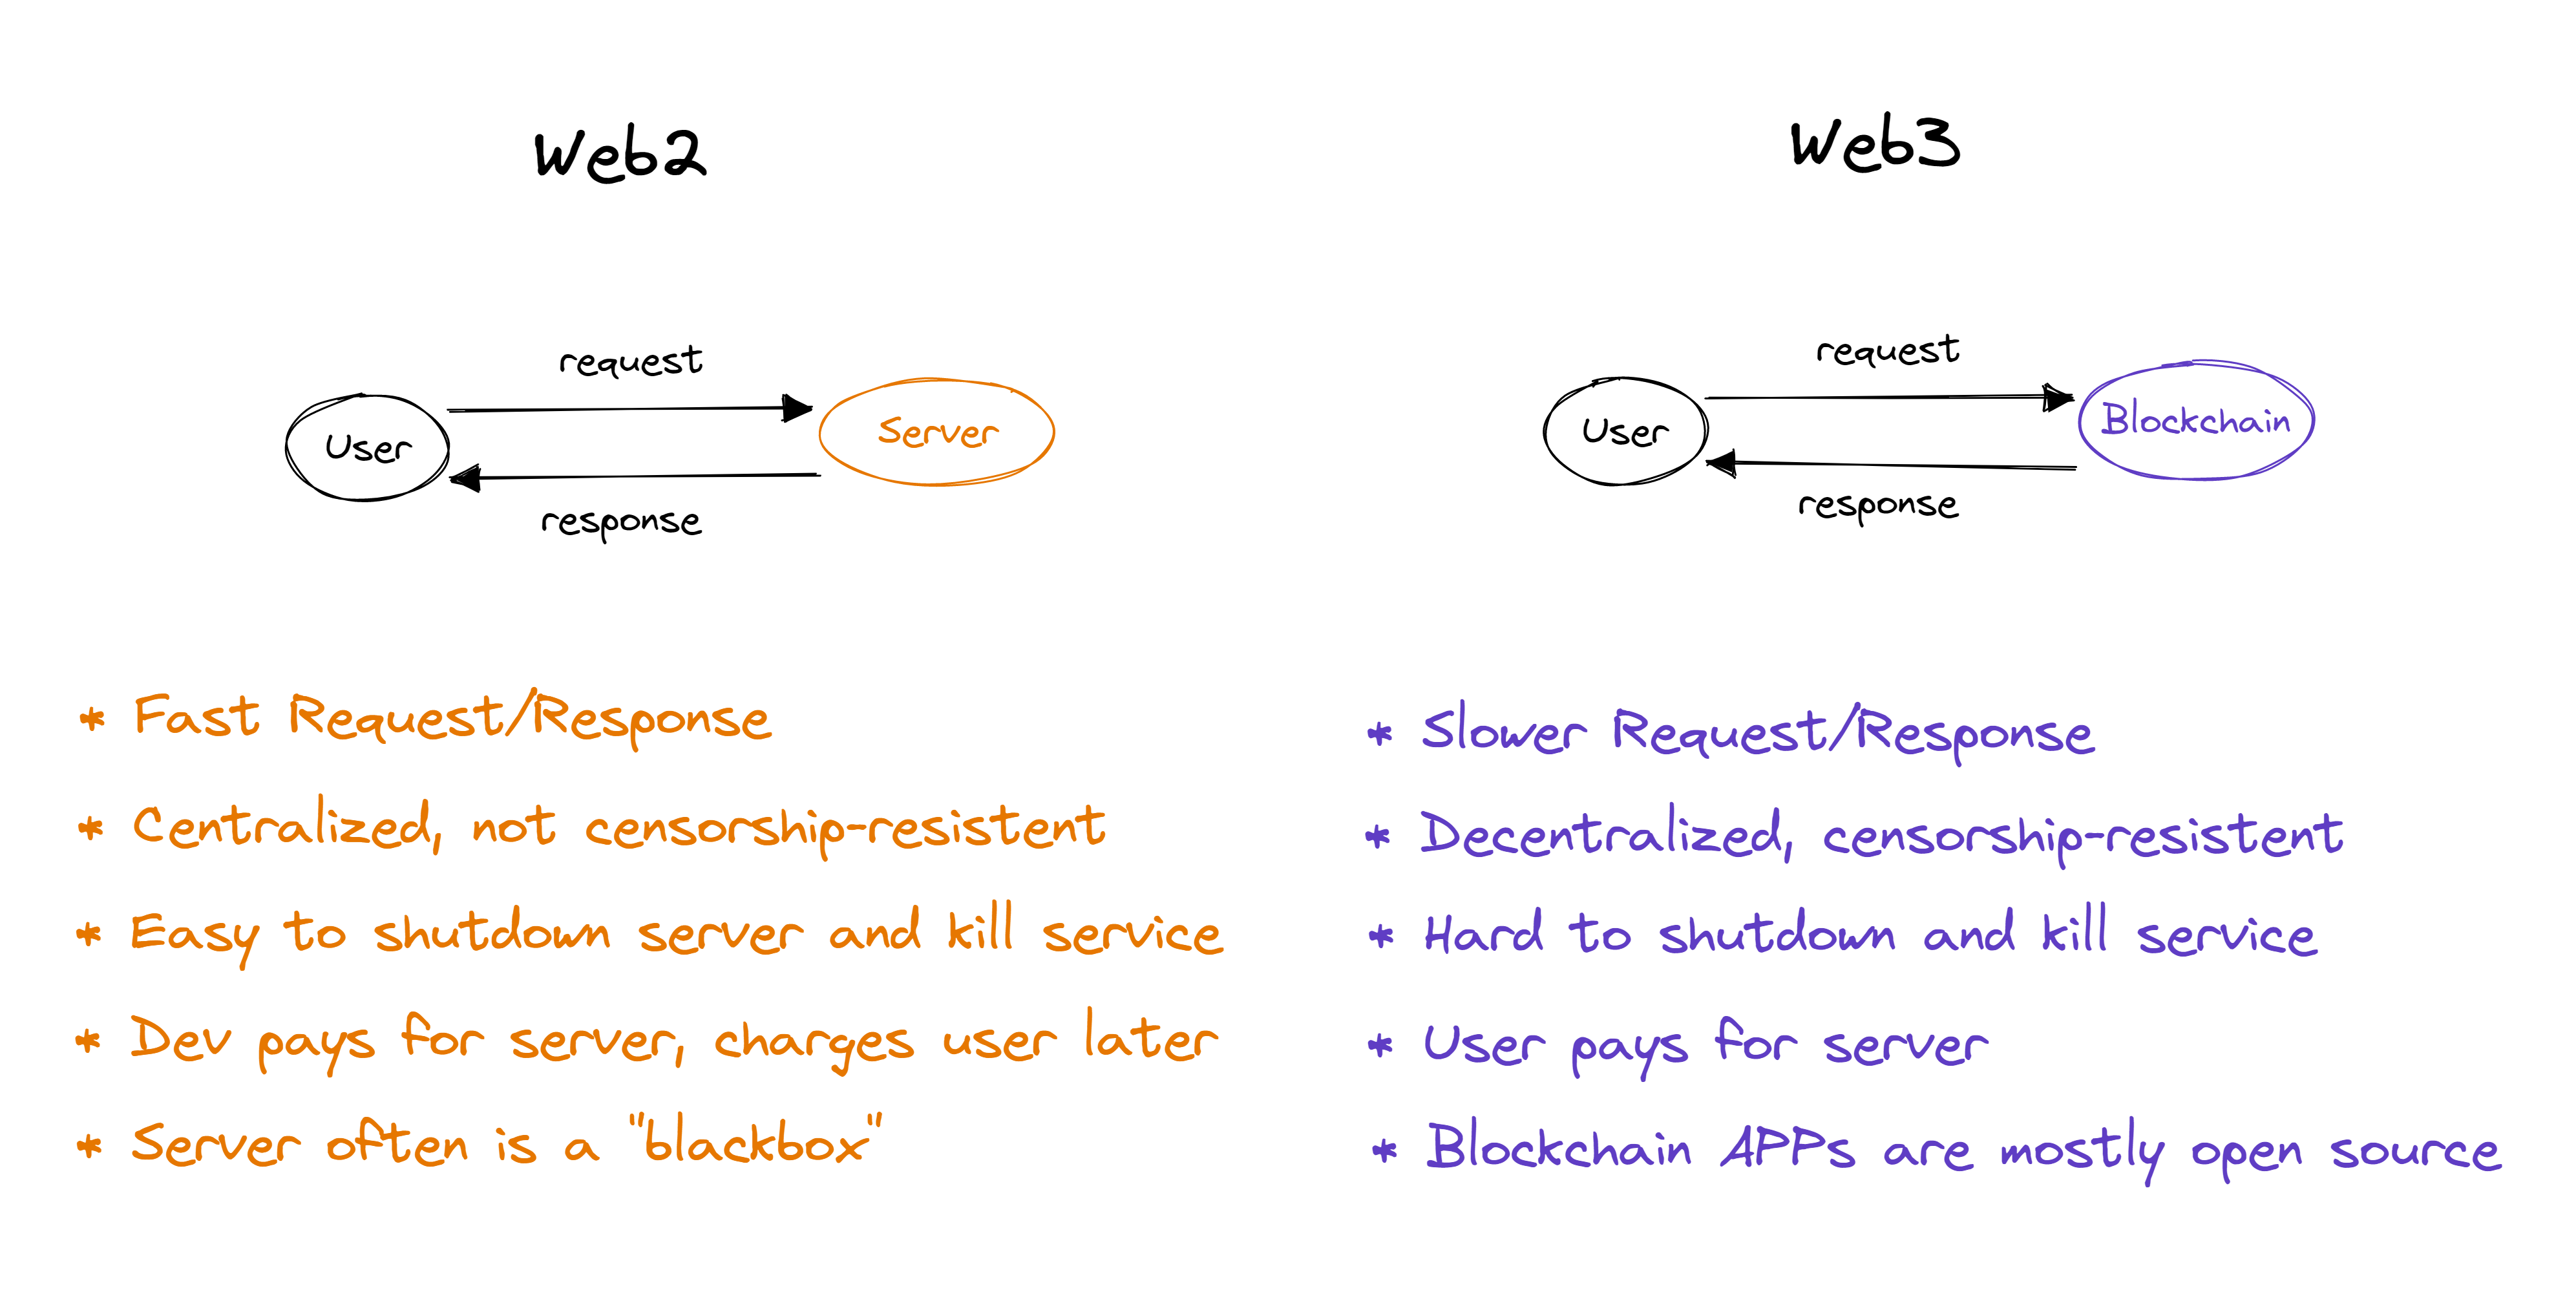
Web3 has brought a new way to communicate with applications: apps are no longer hosted by centralized server providers but rather on blockchains, which are decentralized systems. Apps built on top of decentralized foundations are resilient to downtime and censorship, but there is an issue: serving the app interface to the users using the web browser often relies on centralized entities.
In this article we’ll learn how to self-host app interfaces for core crypto and Yearn services, so if official websites are down by any reason you can actually serve the website for yourself since the blockchain is never down!
Back-end, Front-end, Web3!
A quick intro to these concepts:
Front-end is the name given to the portion of the application that is seen by the user, like a website or a mobile app.
Back-end is the name given to the portion of the application that is not seen by the user. Many front-end actions rely on back-end to process.
In Web3 the blockchain manages to decentralize the back-end, but the front-end will still be served to the user using the default centralized method:
User requests browser to go to a page (example http://yearn.finance)
Browser requests DNS for the IP of this address (13.227.124.73)
Browser requests the files for the IP
And if any of these two happens:
DNS doesn’t resolve your domain to an IP address or IP address doesn’t serve you the front-end files
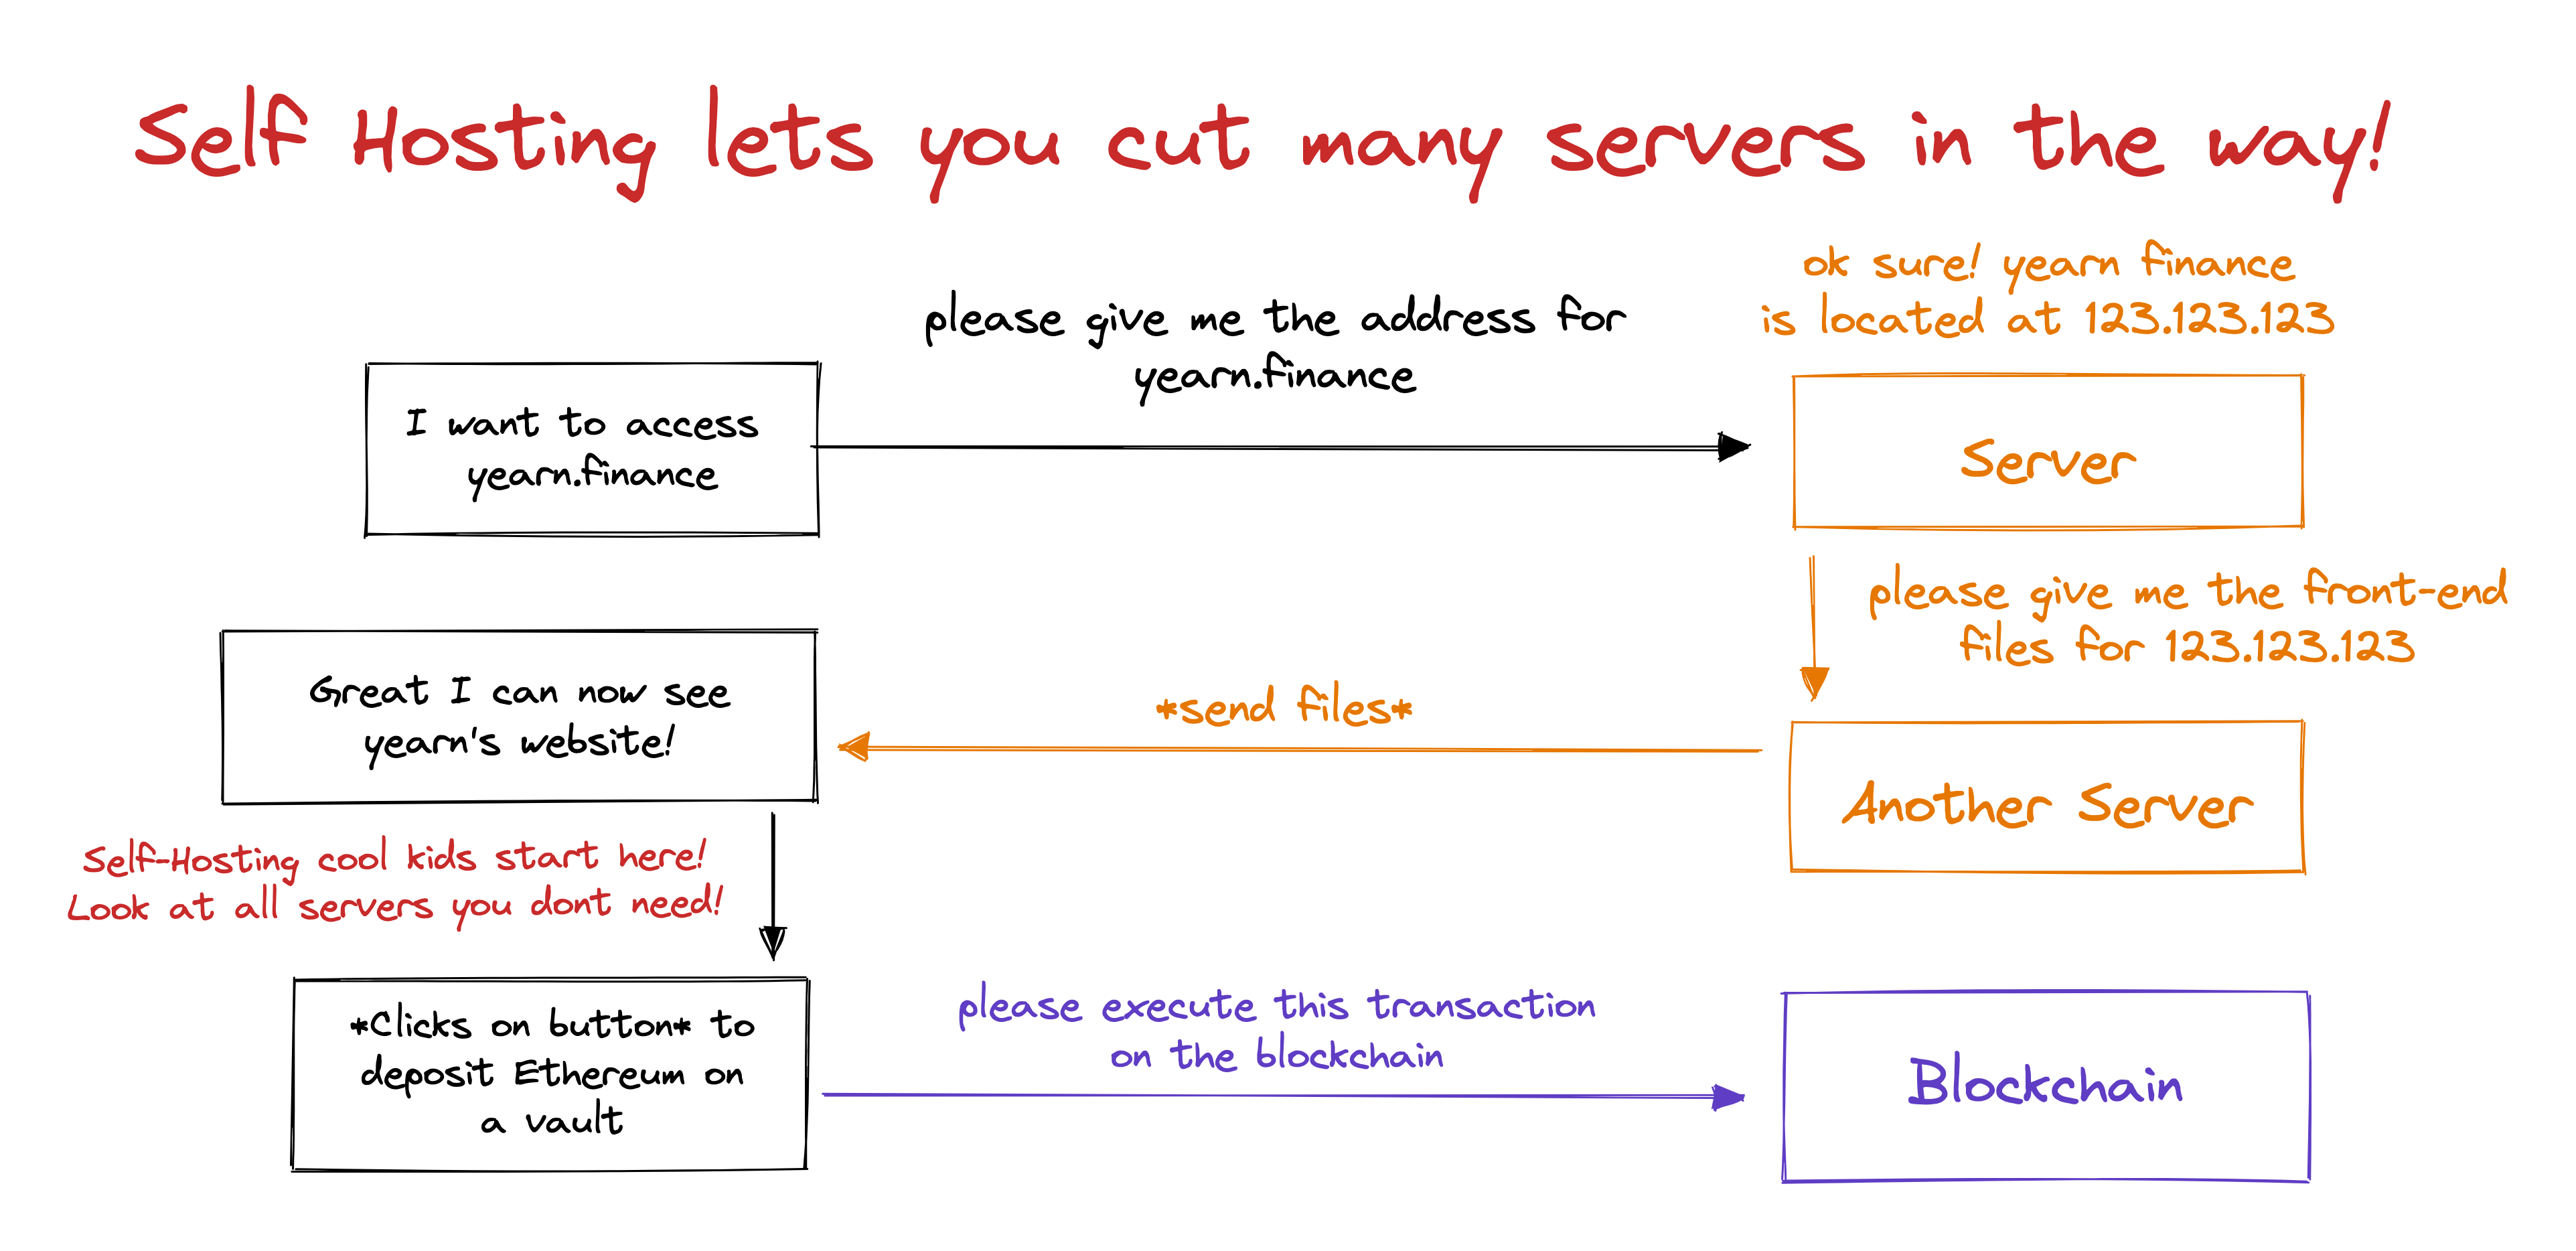
You won’t be able to see the front-end in order to click stuff and communicate with the back-end. In order to be able to use Web3 services without these concerns you can self-host the front-end and workaround both the “DNS resolution” and the “IP-not-online” problem at the same time!
Why Self-Hosting?
Self-hosting a website in web3 means the front-end will work even when the default front-end provider is down. This cuts many middlemen that exist in the middle of the way of your machine reaching the front-end files! It’s a win/win relationship for the individual and the service that if you know how to do it you can back up the services that are essential to you:
The individual gains more resiliency accessing the service even when conditions to reach the front-end are bad
The server that delivers front-end files receives fewer requests, which helps it not get congested
The local version of the app will be frozen in a specific version. If this version works well for the individual it’s great to have a backup so if the live front-end breaks any feature you can still access the working version
In order to self-host a service, we’ll have to go through the developer documentation of how to download, set up, and run a local environment for each app.
After running it locally, instead of accessing the default website URL in the browser, we will instead use something like “localhost:application” and it will work just fine! The “application” is a number that often defaults to 3000

Points to pay attention before starting
To Windows users: Depending on the service it might be easier to use Linux instead of Windows, but if you have windows don’t worry, many services work fine out-of-the-box, and for the ones that don’t you can use WSL (Windows Subsystem for Linux). A Virtual Machine is also a good alternative, you can install a common Linux distribution such as Ubuntu or Debian which often has many resources to get around errors. If you have unexpected errors on Windows it’s recommended to try running on Mac/Linux instead.
To Mac/Linux users: If any command show unexpected errors try running them using the keyword sudo before, like sudo command, this forces the command to be run as administrator and sometimes your default permissions are not the same as the admin ones.
On unexpected errors: Read carefully through the repository readme! If nothing works, Google is your best friend.
If everything went correct but on-chain transactions fail: There is a file called .env used by projects to configure default keys. There you can find places to add project keys for services like Infura and The Graph, some of the apps might require you to use your own keys, in order to grab a key you have to create an account at the service website!
After running a service in order to run it again: You can skip any git clone and yarn install and other key configuration steps, you usually just have to cd (change directory) into the project’s folder again and run yarn start
After running a service in order to run another: You’ll have to either close the terminal window OR shutdown the execution yourself: to do this use “Ctrl+C” and you can exit the project folder with the command cd ..
Let’s start then!
Requirements
How to open a terminal window
Windows: Windows + R -> type cmd -> Enter
Mac: CMD + Space -> Terminal
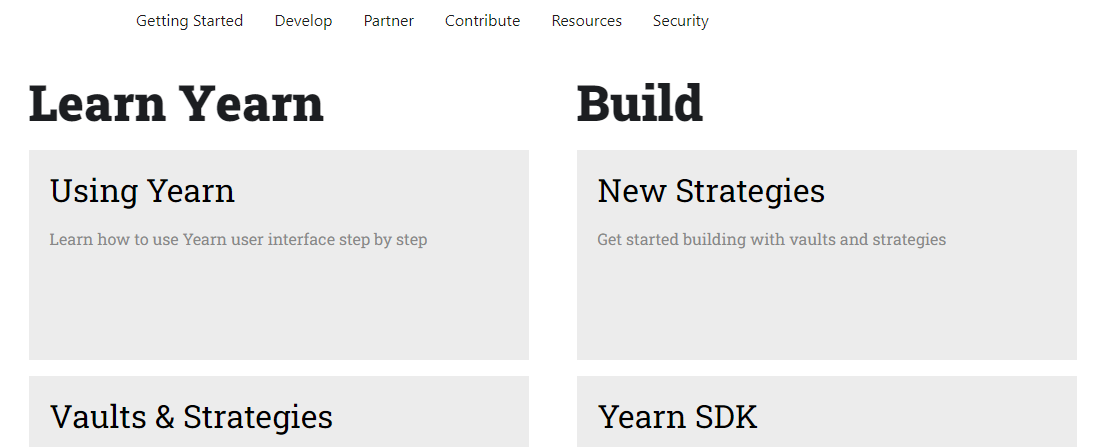
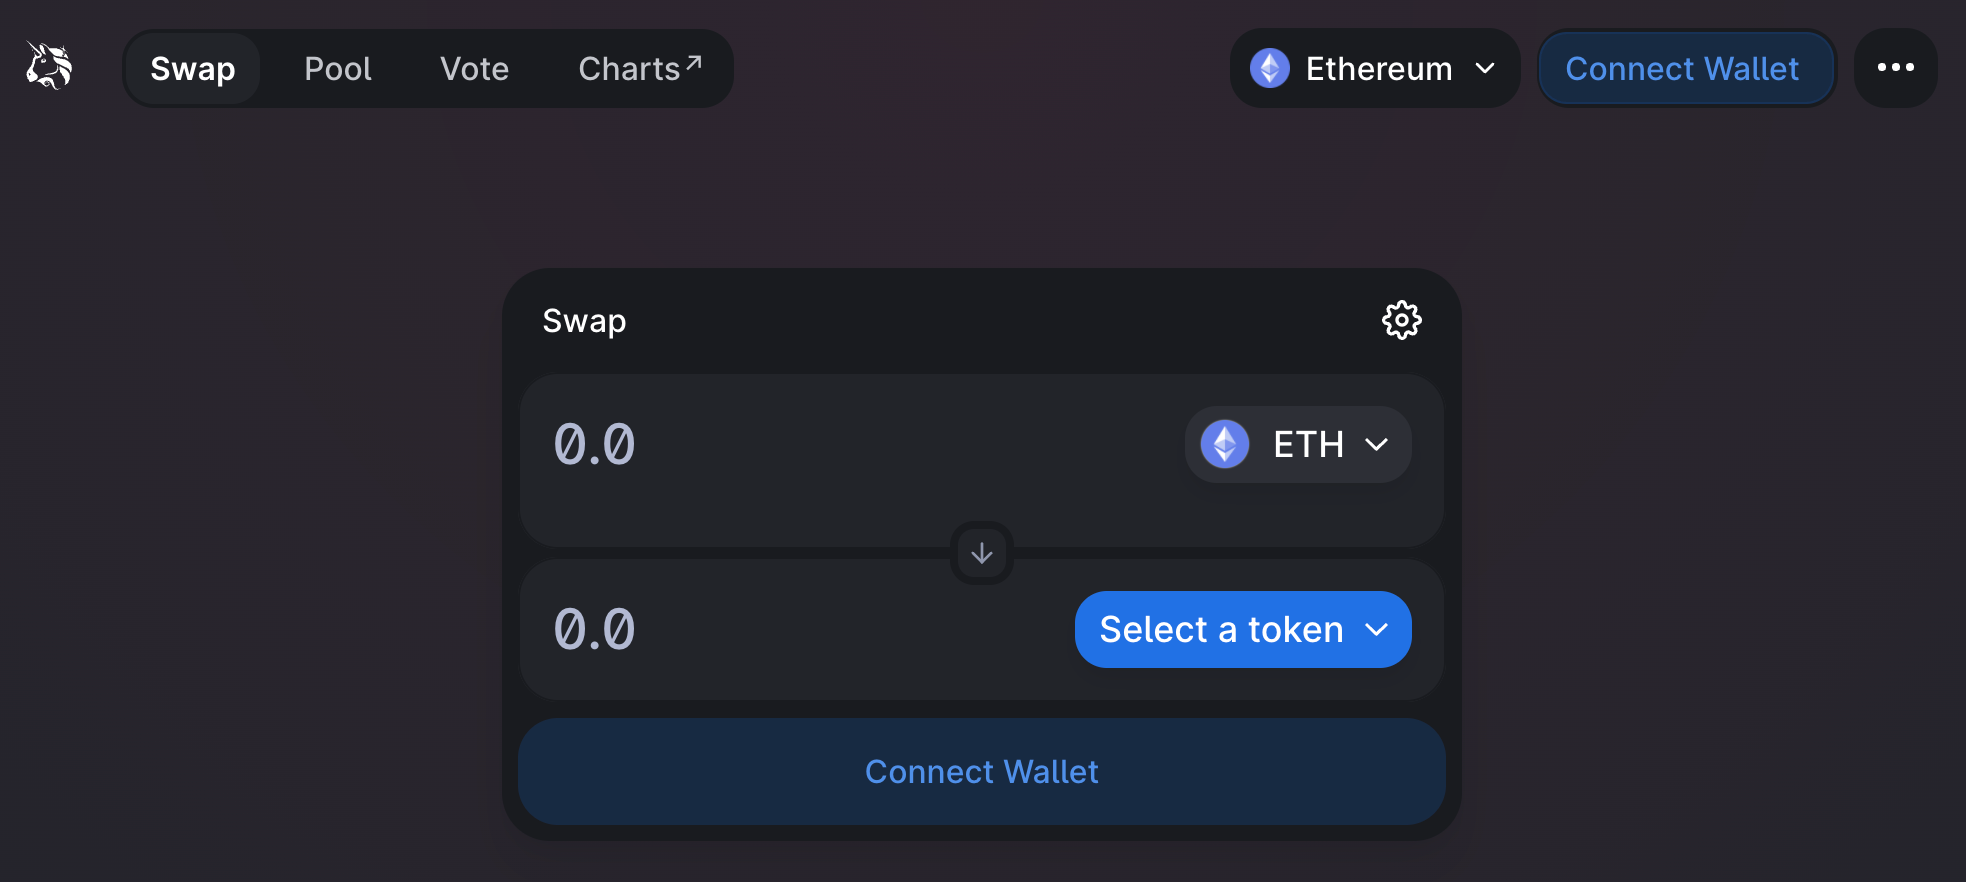
Self-Hosting Yearn Website
Repository: https://github.com/yearn/yearn-finance-v3
Open terminal
cd yearn-finance-v3
yarn install
Not-Windows: yarn dev / Windows: yarn dev-win
Browser should automatically open a tab at localhost:3000
Self-Hosting Yearn Blog
Repository: https://github.com/yearn/yearn-comms
Open terminal
git clone https://github.com/yearn/yearn-comms
cd yearn-comms
yarn install
yarn dev
Open the browser and navigate to localhost:3000
Self-Hosting Yearn Dev Docs
Repository: https://github.com/yearn/yearn-devdocs
Open terminal
git clone https://github.com/yearn/yearn-devdocs
cd yearn-devdocs
yarn install
yarn start
Browser should automatically open a tab at localhost:3000
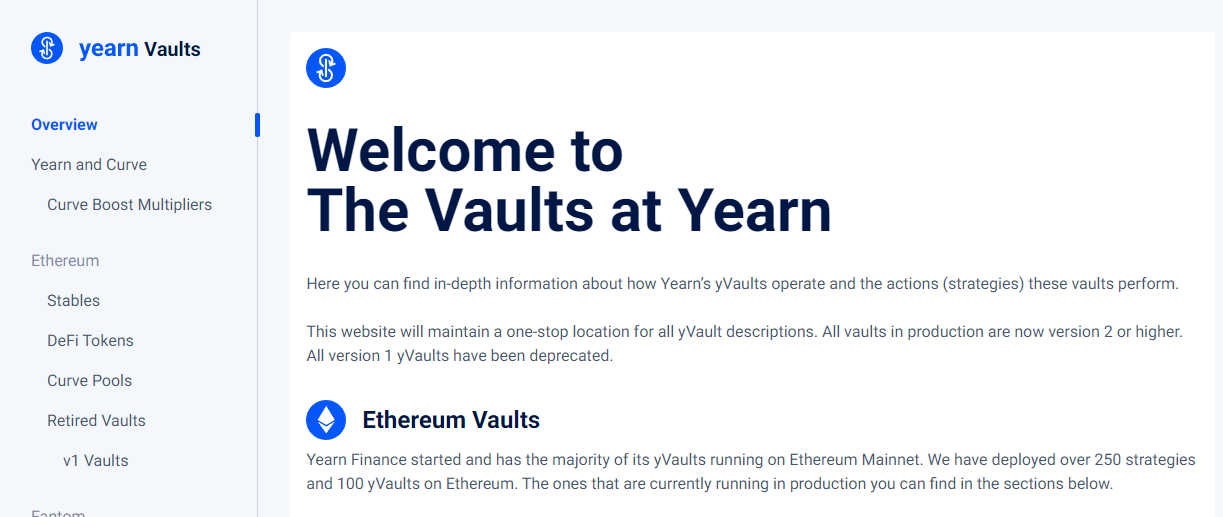
Self-Hosting Yearn Vaults Descriptions
Repository: https://github.com/yearn/yearn-vaults-descriptions
Open terminal
git clone https://github.com/yearn/yearn-vaults-descriptions
cd yearn-vaults-descriptions
yarn install
yarn dev
Open the browser and navigate to localhost:3000
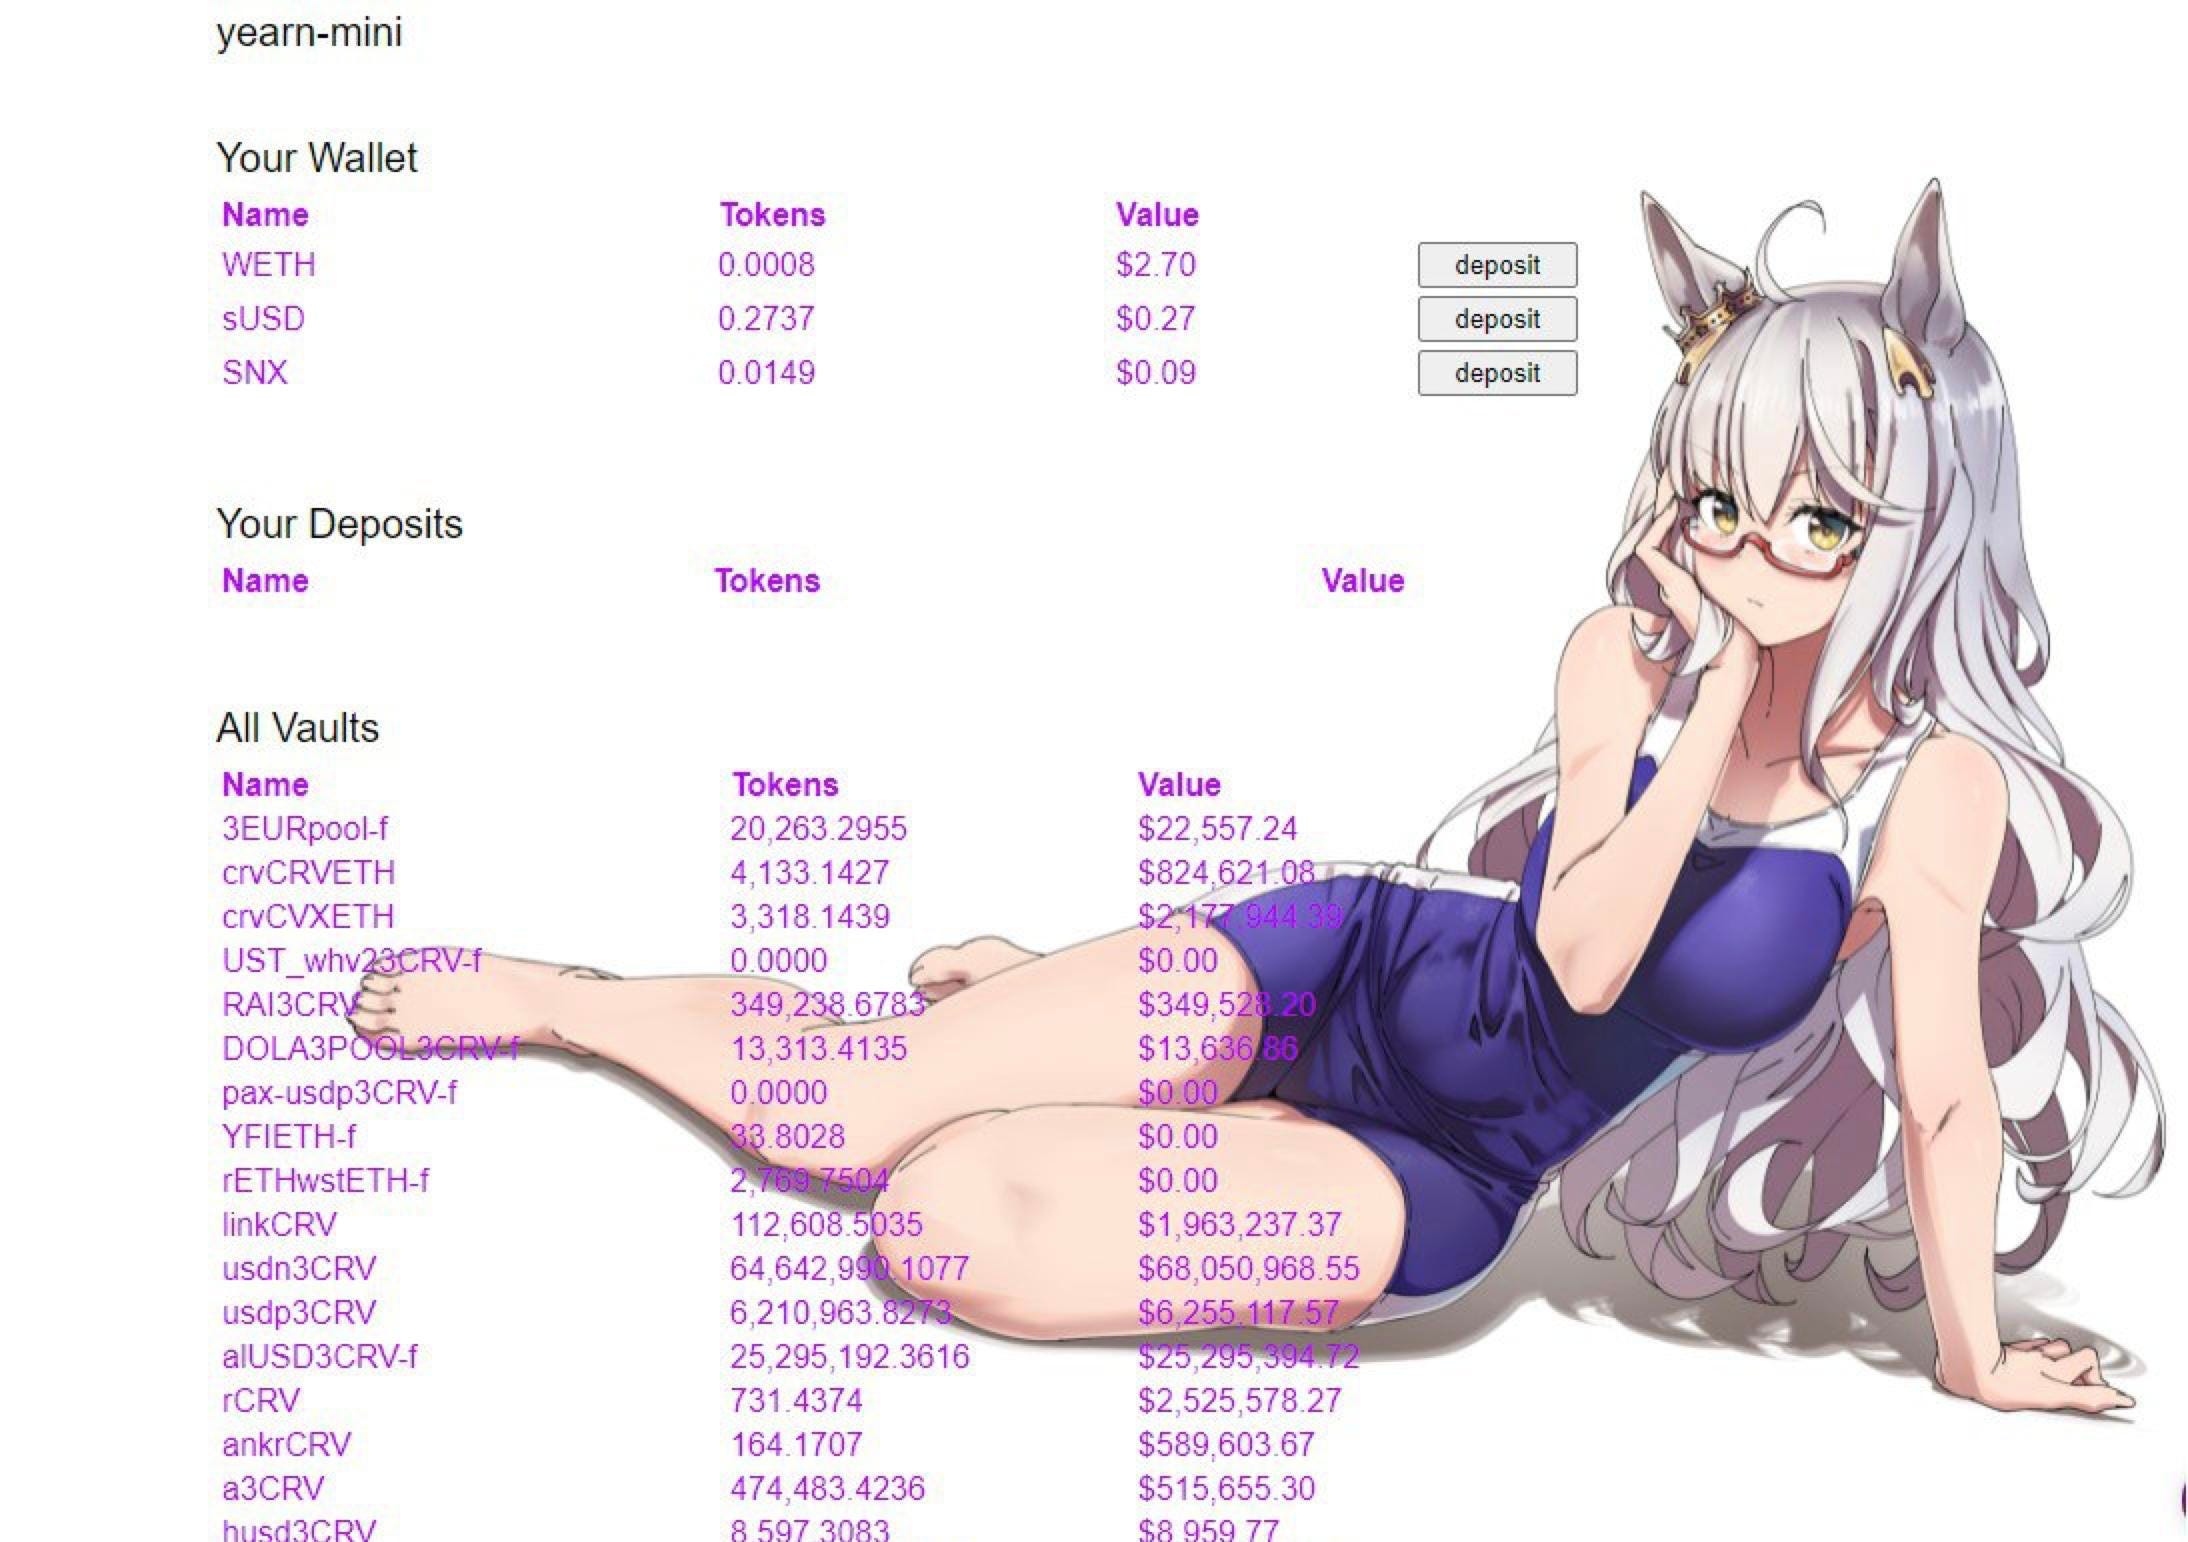
Self-Hosting Yearn Mini
Repository: https://github.com/DarkGhost7/yearn-mini
Open terminal
git clone https://github.com/DarkGhost7/yearn-mini
cd yearn-mini
yarn install
yarn start
Browser should automatically open a tab at localhost:3000
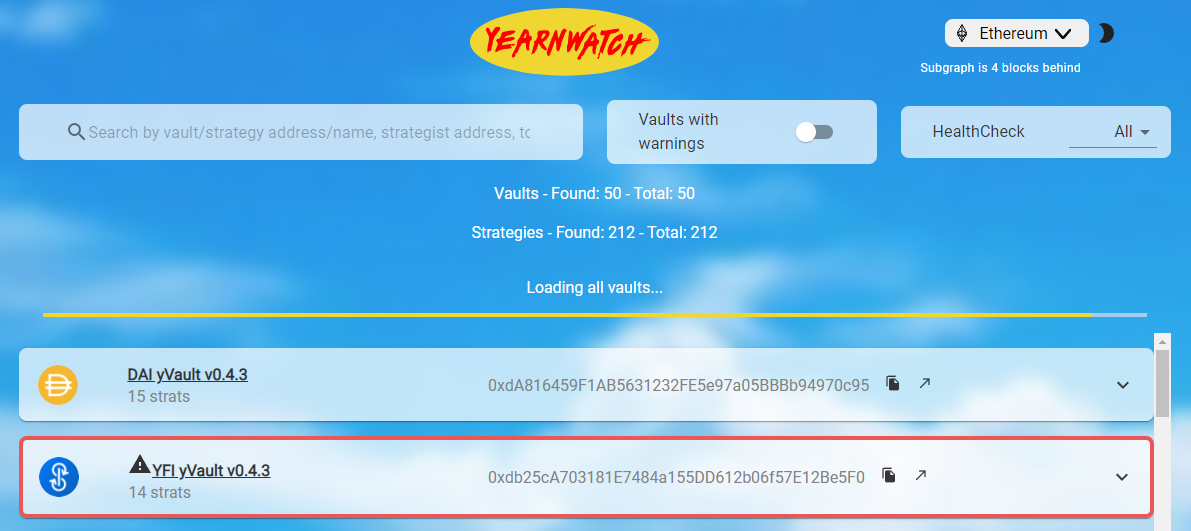
Self-Hosting Yearn Watch
Only works for Fantom because The Graph Ethereum development key is not public
Repository: https://github.com/yearn/yearn-watch
Open terminal
git clone https://github.com/yearn/yearn-watch
cd yearn-watch
yarn install
cp .env.example .env
yarn start
Browser should automatically open a tab at localhost:3000
Self-Hosting Uniswap
Repository: https://github.com/Uniswap/interface
Did not work on Windows
Open terminal
git clone https://github.com/Uniswap/interface
cd interface
yarn install
yarn start
Open the browser and navigate to localhost:3000
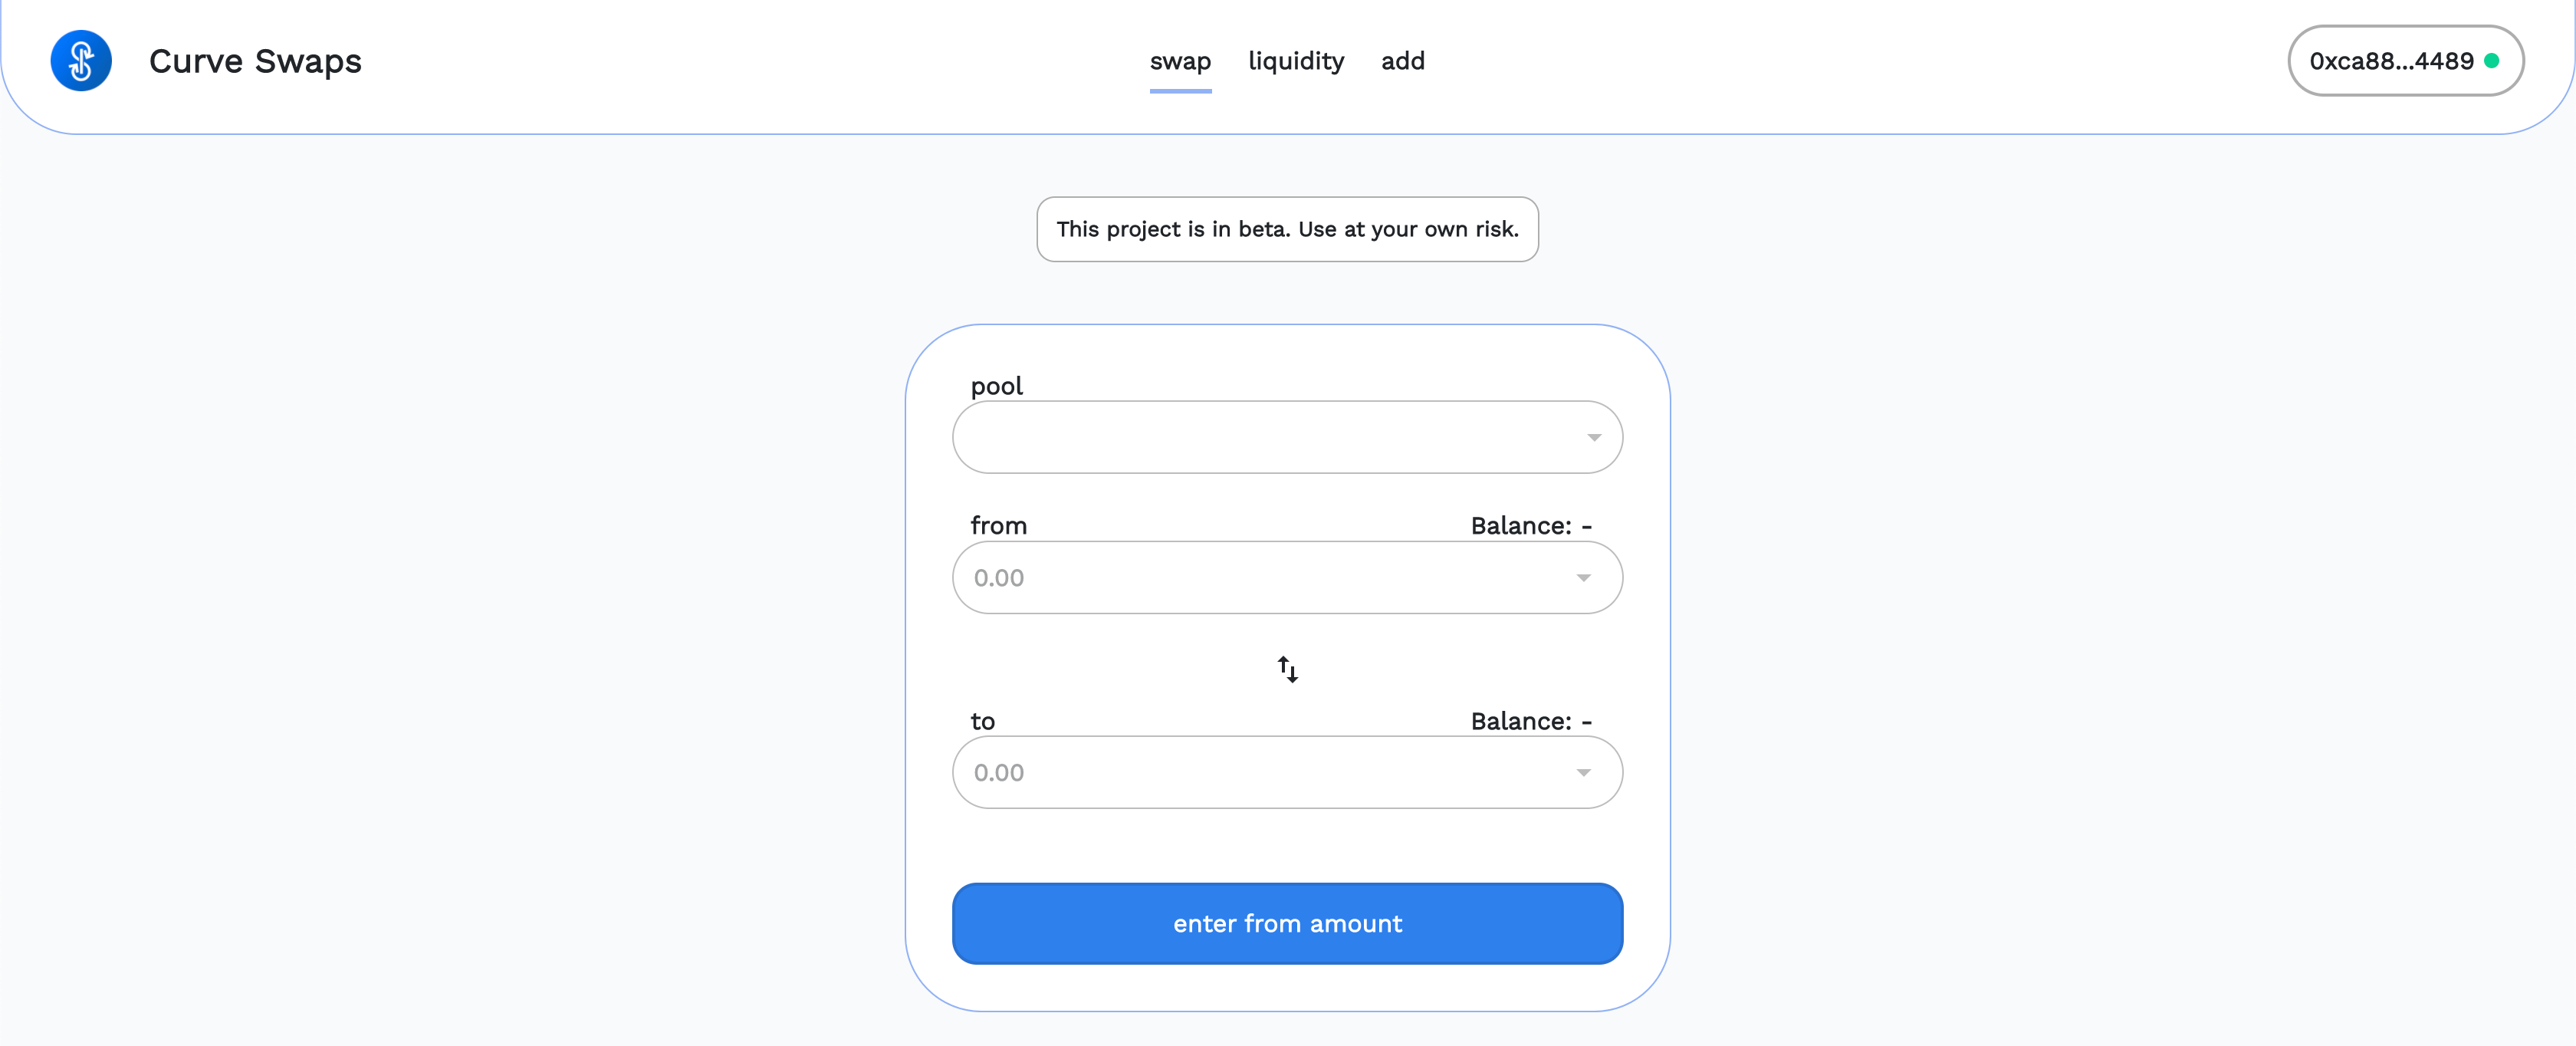
Self-Hosting Curve
Old UI since the current one isn’t open source
Repository: https://github.com/curvefi/crv.finance
Open terminal
git clone https://github.com/curvefi/crv.finance
cd crv.finance
yarn install
yarn start
Browser should automatically open a tab at localhost:3000
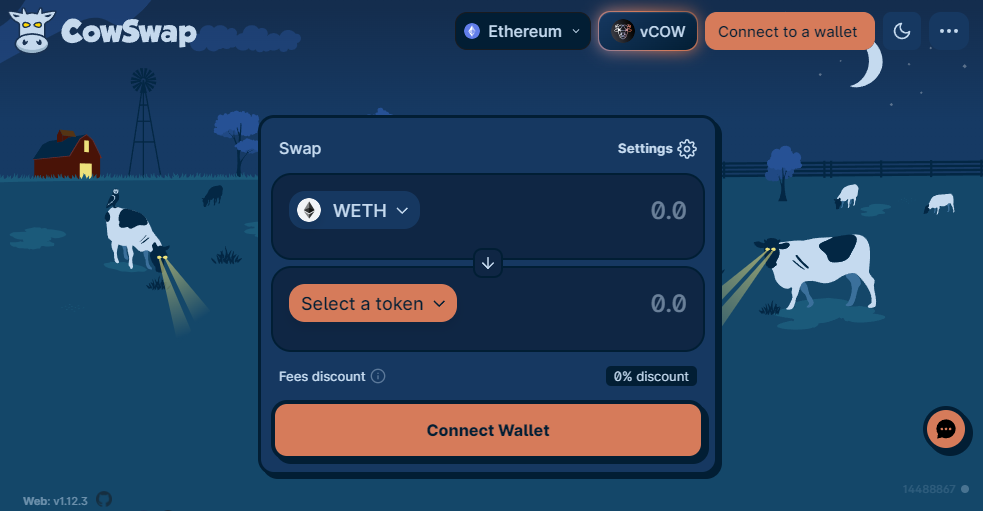
Self-Hosting Cowswap
Repository: https://github.com/gnosis/cowswap
Did not work on Windows
Open terminal
git clone https://github.com/gnosis/cowswap
cd cowswap
yarn install
yarn start
Browser should automatically open a tab at localhost:3000
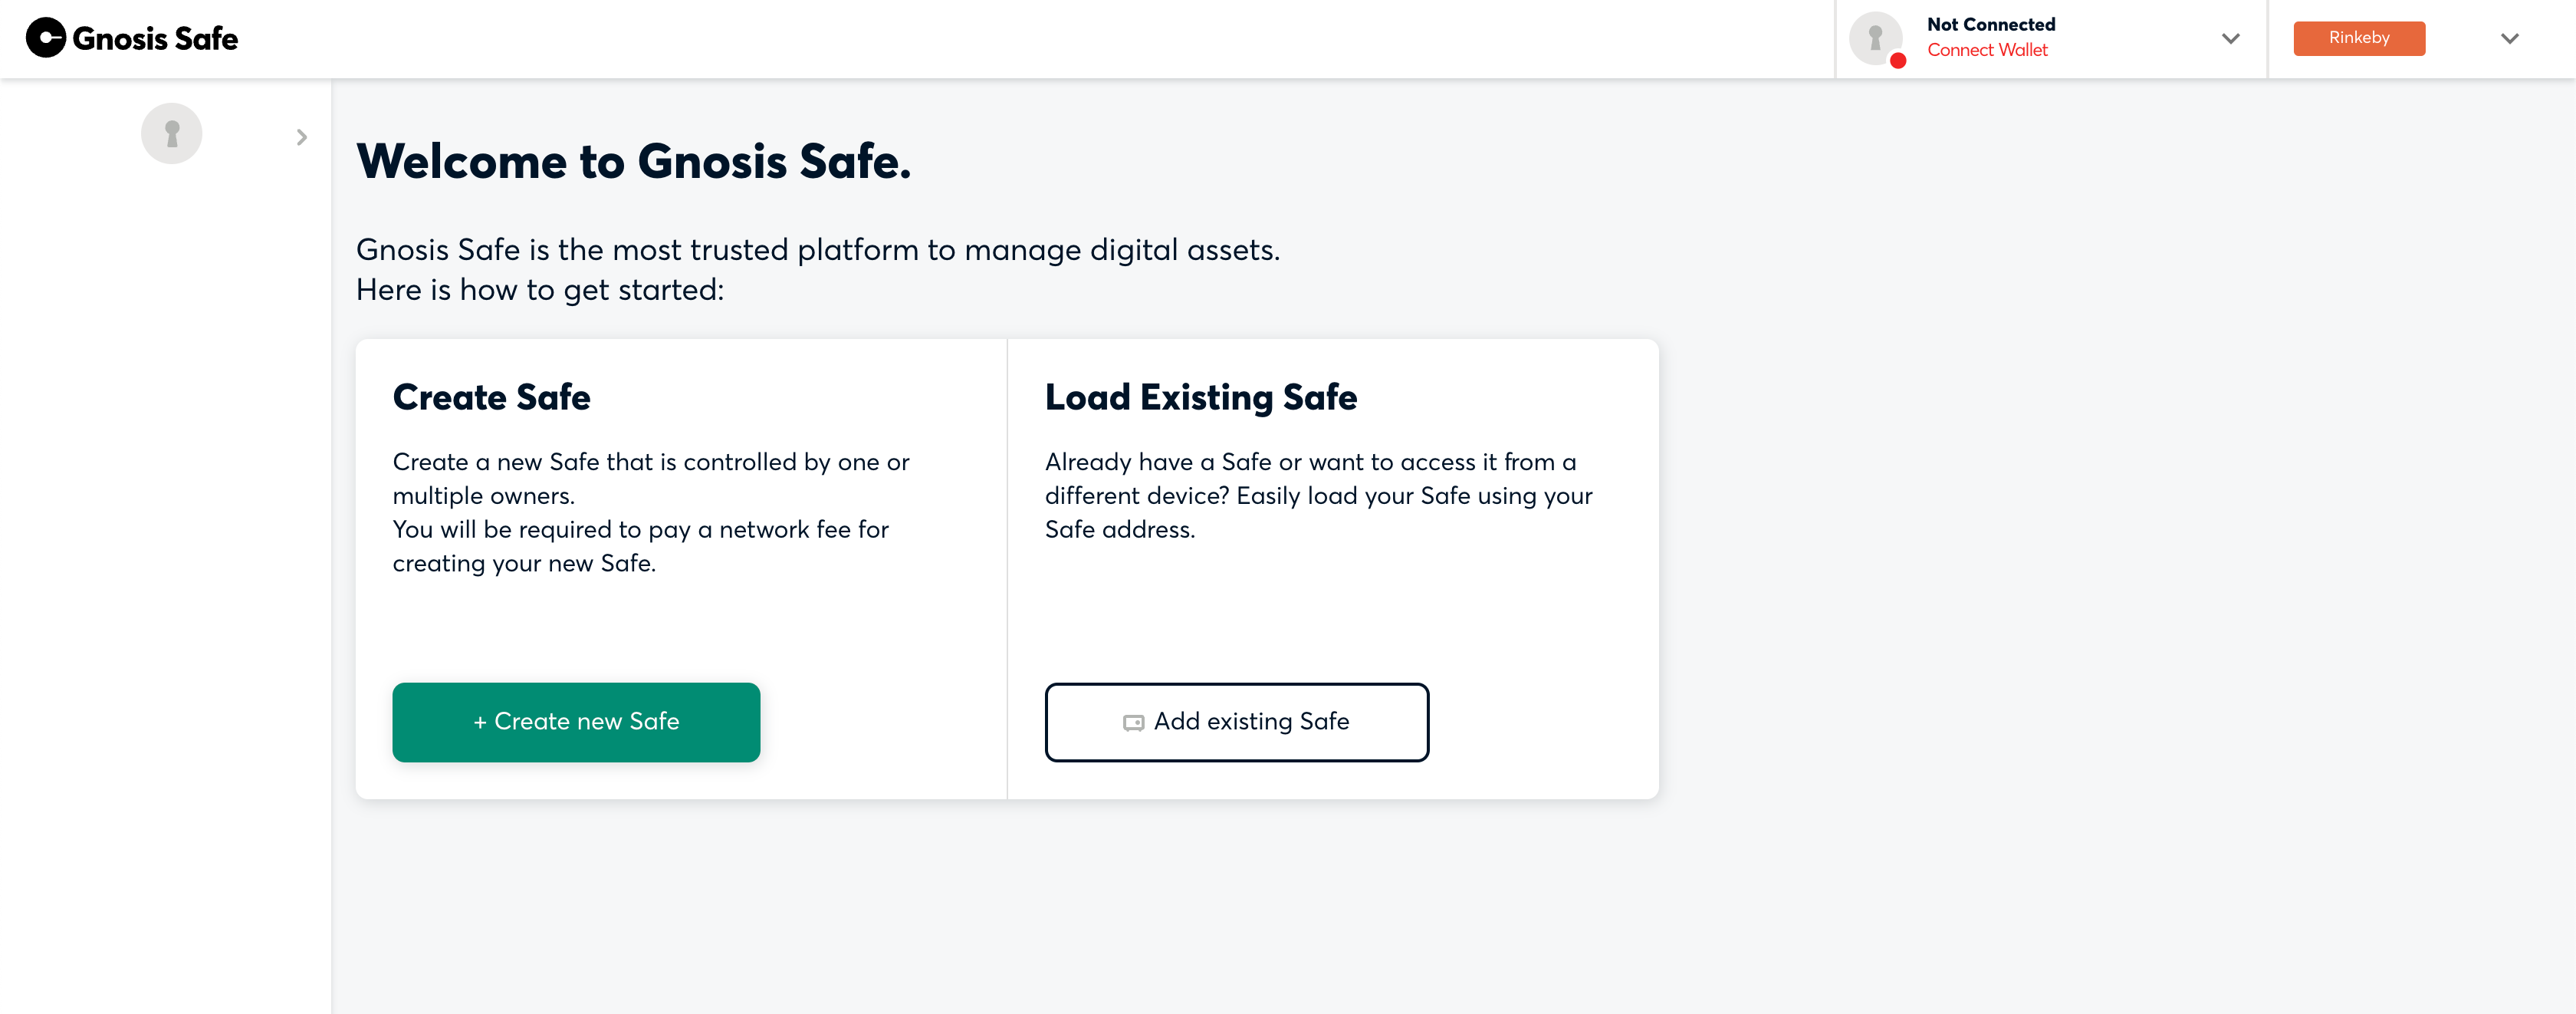
Self-Hosting Gnosis Safe
Repository: https://github.com/gnosis/safe-react
Open terminal
git clone https://github.com/gnosis/safe-react
cd safe-react
yarn install
cp .env.example .env
Add Infura keys to .env
yarn start
Browser should automatically open a tab at localhost:3000
Producer: *Worms, Reviewers: *Dark Ghosty, *Cryptouf, *Red Phone Crypto