Stable Diffusion (SD) is a new open-source tool that allows anyone to generate images using AI pre-trained by the nice folks at Stability.ai. You can use any image you make on it commercially as long as you link to its license. Be aware that some images might not be able to be used because of patents, for example, if you generate an image of Apple’s logo it doesn’t mean you can use it as your brand.
Technically, stable diffusion describes itself as: “A latent text-to-image diffusion model”:
Latent: To work properly SD depends on a large amount of data (space) that was compressed into a lightweight representation (latent space).
Text-to-image: The core functionality of the whole thing, you feed text to it and it will give you back an image (there are plenty of configs tough for how to do this).
Diffusion Model: In AI diffusion is the process of slowly adding random noise to data and then learning to reverse the diffusion process to construct desired data samples from the noise.
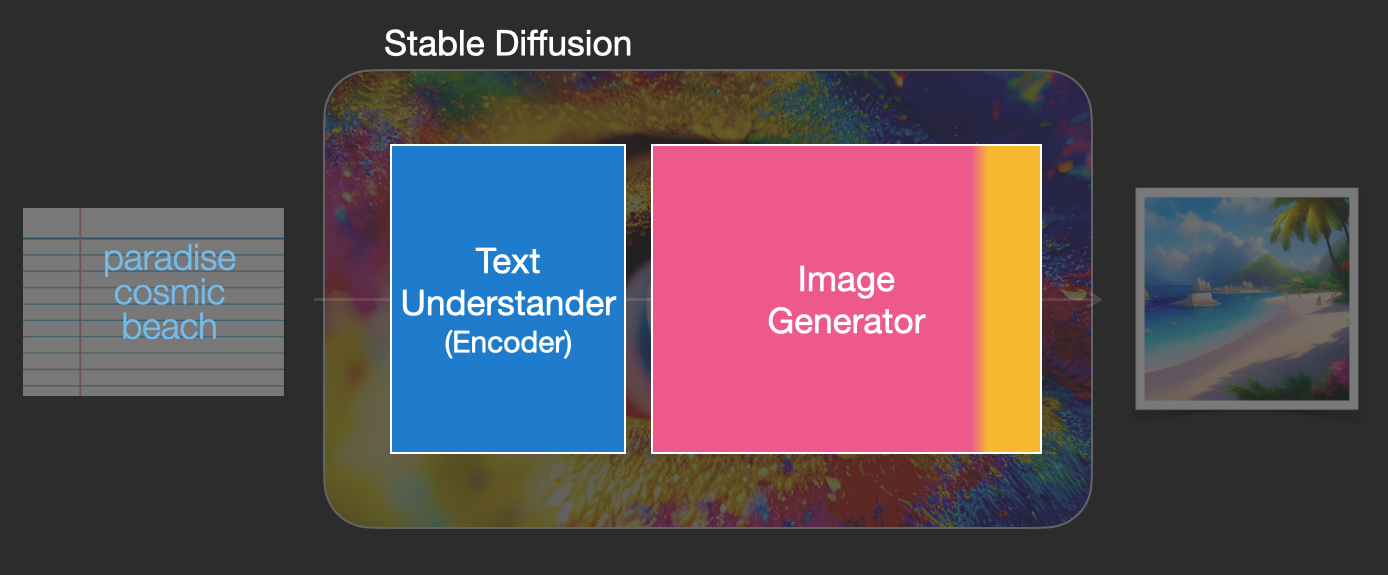
Very roughly stable diffusion contains a text decoder that knows how to interpret text input and represent it as data for an image generator. You can read more about how this works in this illustrated guide.
Set up and run local SD + User Interface
There are many ways to set up and run SD, but after using some my favorite UI is this one:
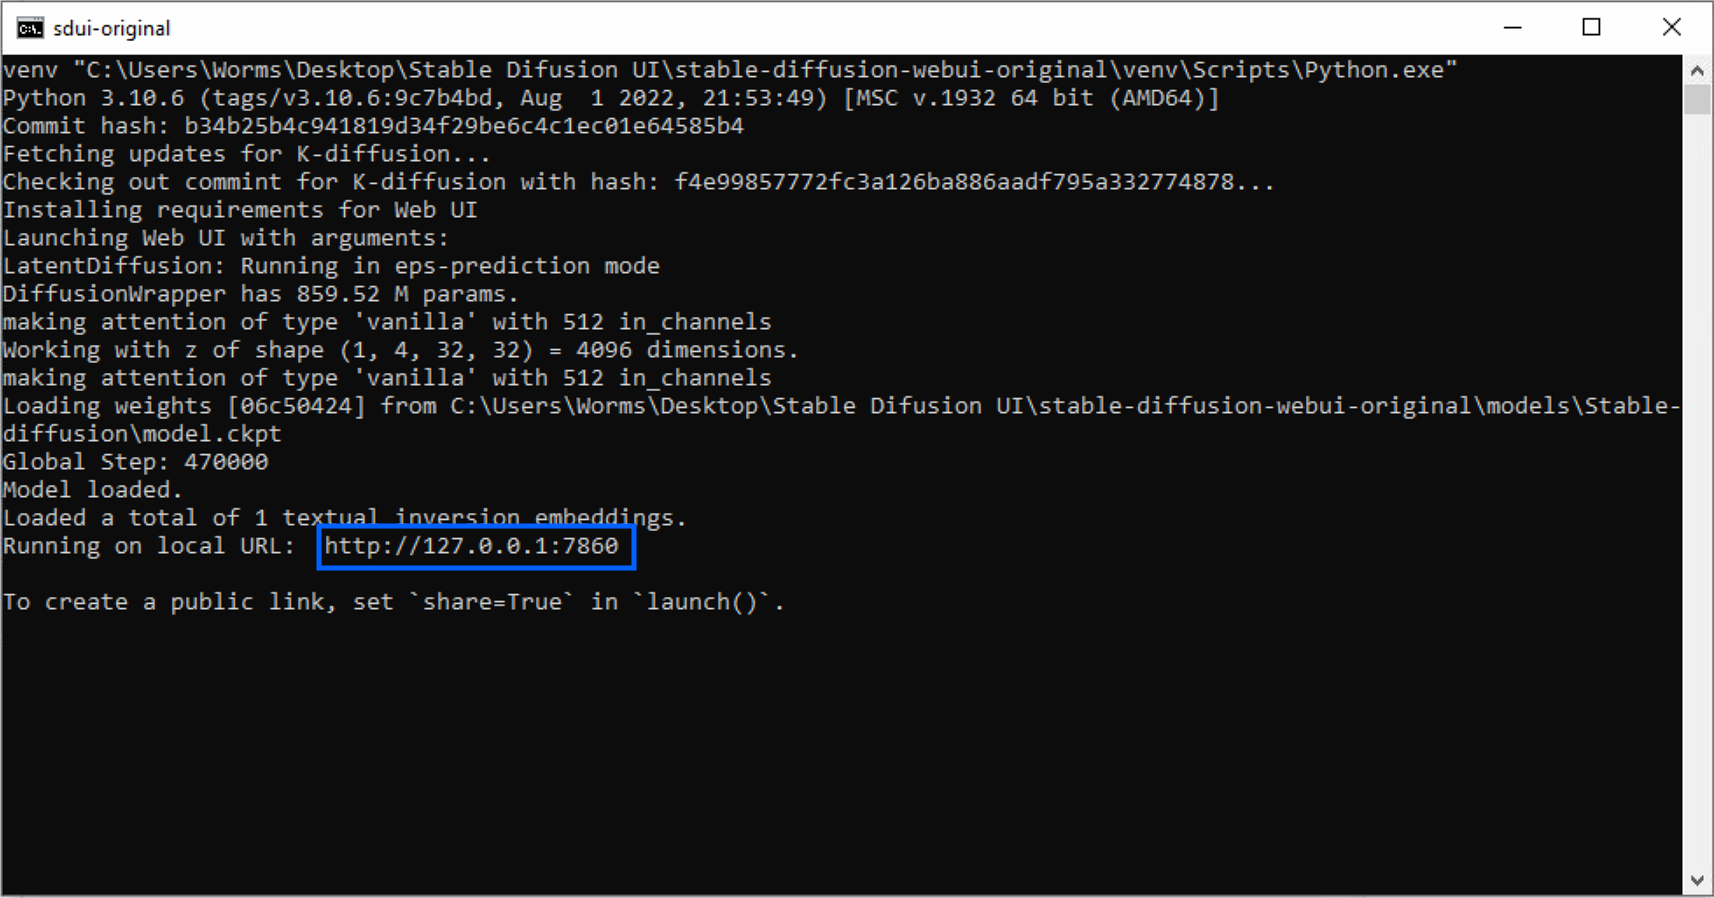
So go ahead to their installation section and follow the steps to install and run it. It will require installing python, downloading the repo, and running the “webui-user” script to install and run everything needed. When done copy and paste the link provided by the script output into your browser:
 > # You can also use DreamStudio instead of the local setup in case you can’t run it, but it will not have the same scripts used by the local UI in the later parts of this article.
Core tools: text-to-image and image-to-image
txt2img
Text-to-Image is a very good starting point when you want just to pump out some images from a prompt idea. Opening the UI will take you straight to txt2img:
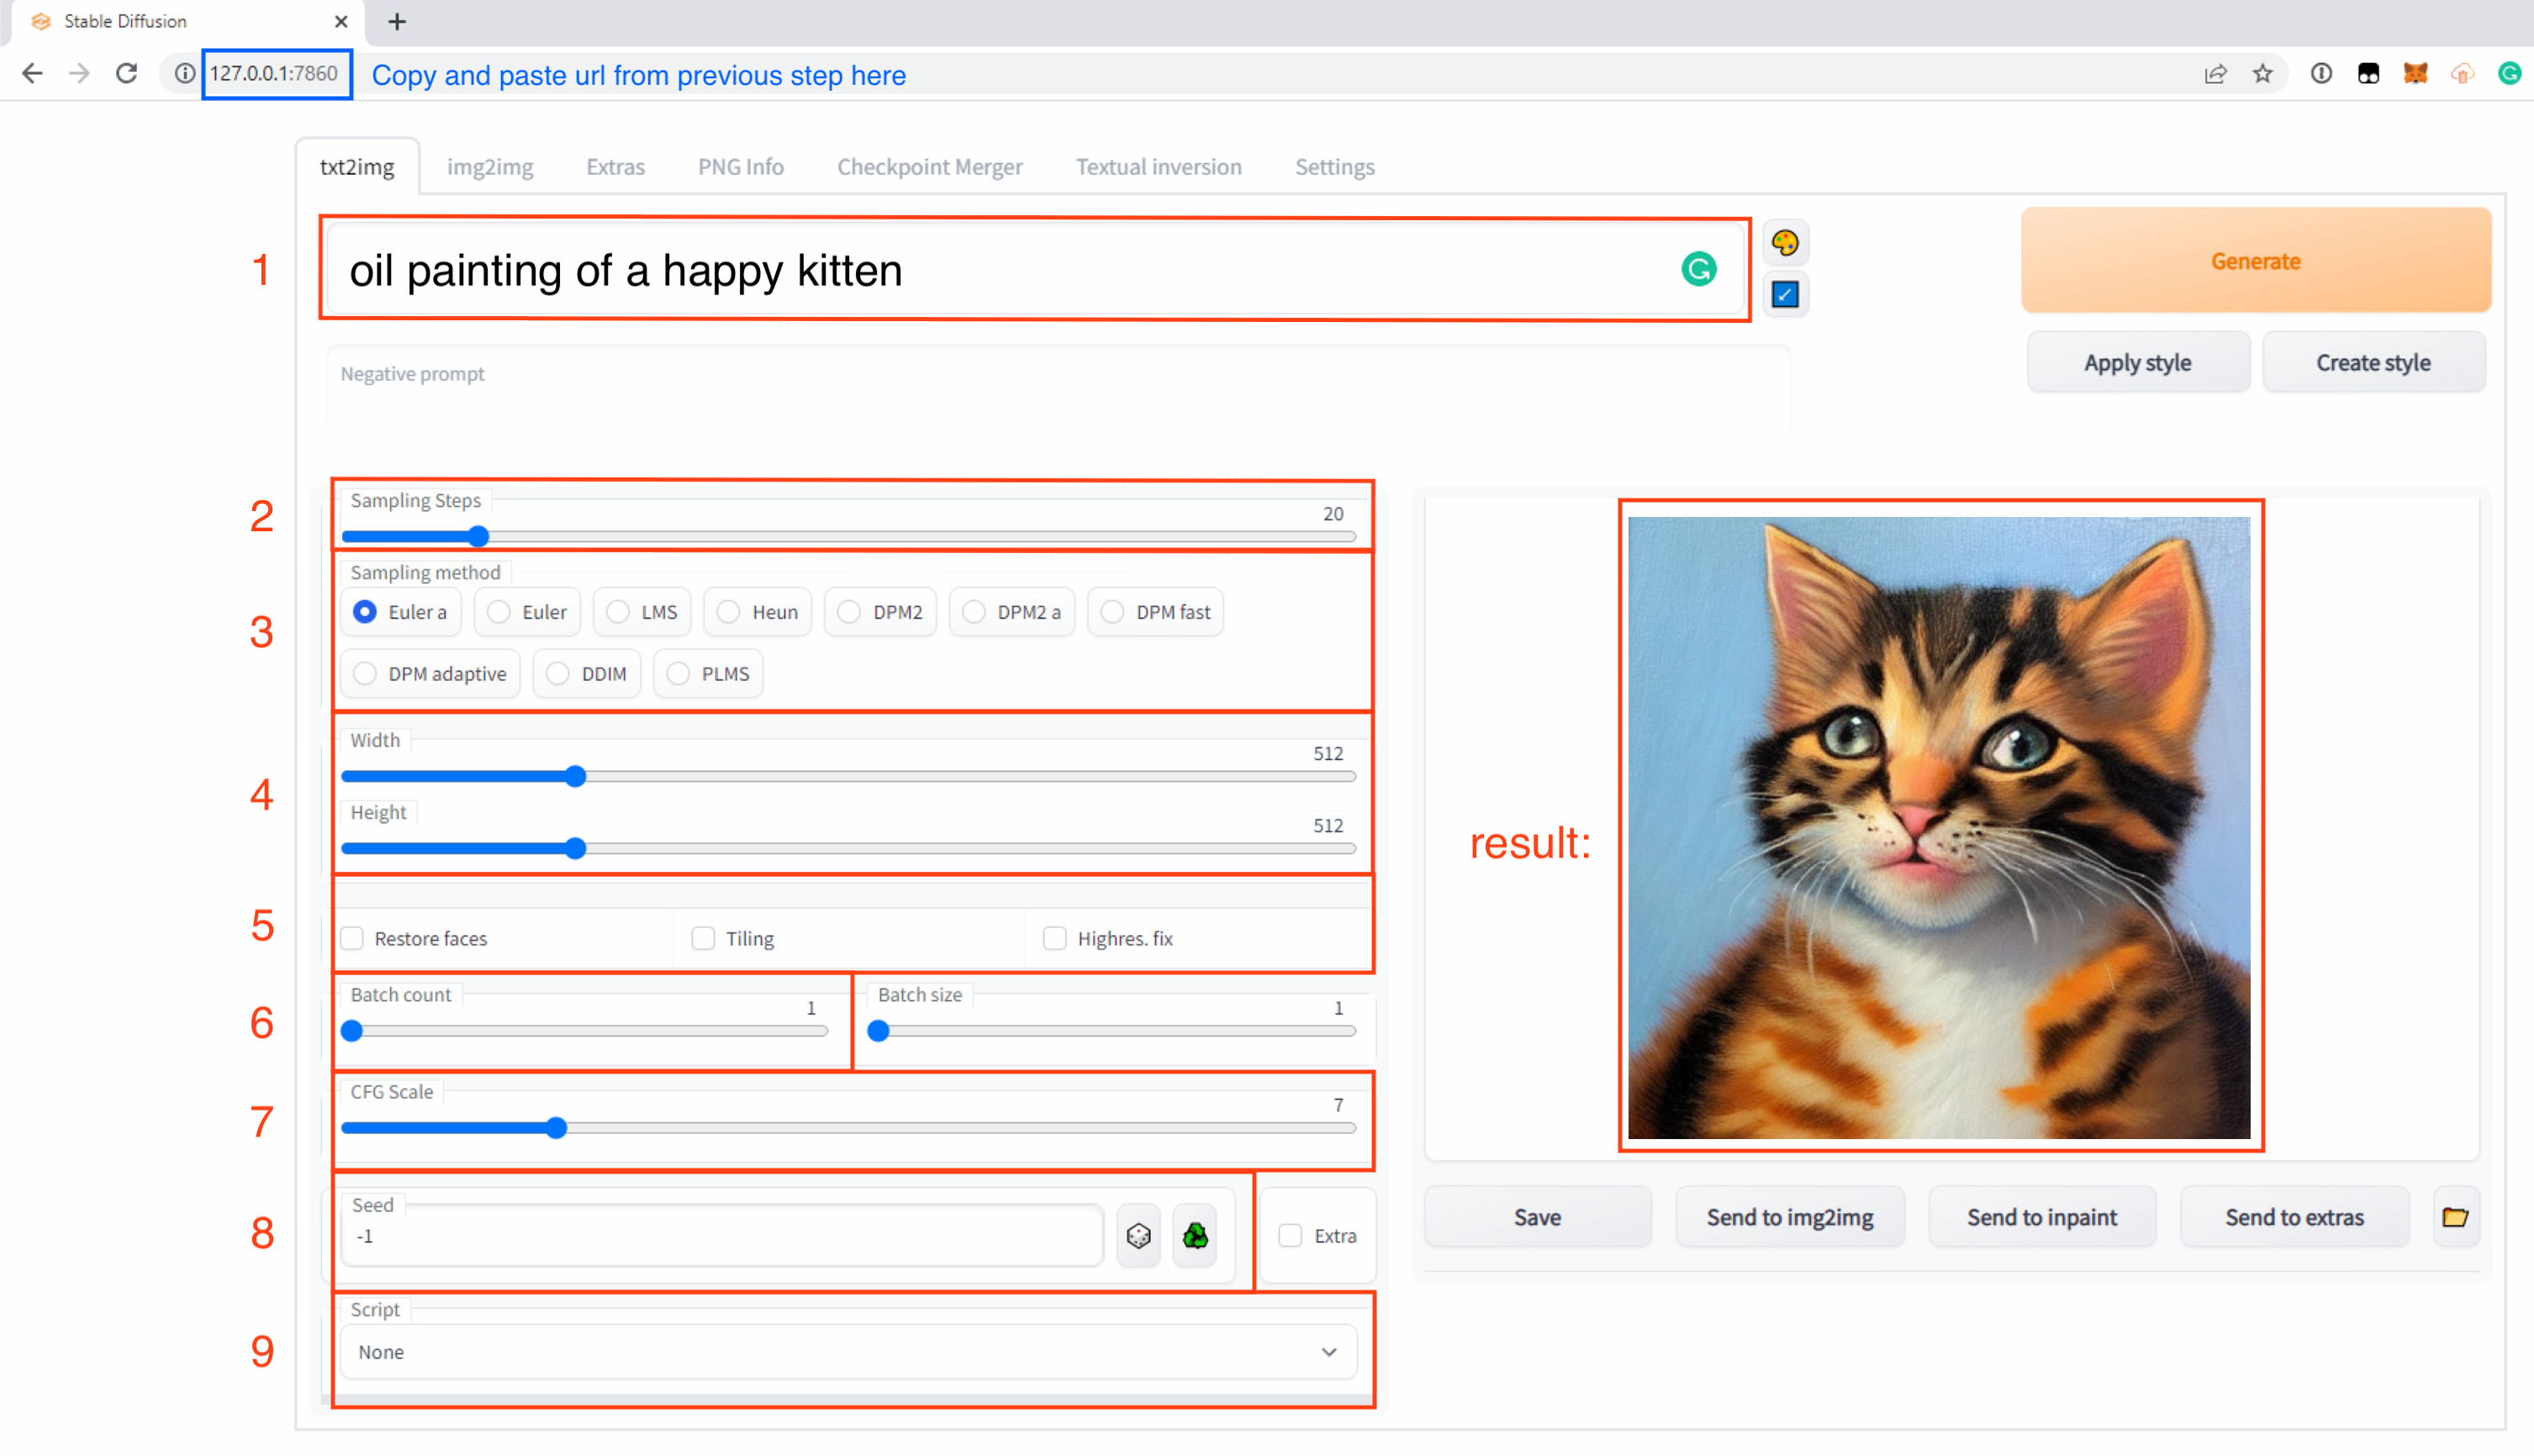
This is where we can start from scratch with only text. Let’s understand the parameters provided:
1) Prompt: a phrase that will direct the image generation process.
2) Steps: the number of times the diffusion process will happen.
3) Sampler: different ways of diffusing the image.
4) Size: initial image resolution, needs beefy GPU to increase.
5) Modifiers: “restore faces” helps fix faces, “tiling” generates seamless tiles (amazing for games and 3d modeling), “highres fix” helps create images when initial size is much higher than 512x512.
6) Batch Count: number of images to generate.
7) CFG Scale: “A Cfg Scale value of 0 will give you a random image based on the seed, whereas a Cfg Scale of 20 (the maximum on SD) will give you the closest match to your prompt that the model can produce.” (source)
8) Seed: A number, when set “-1” will be randomized. You can think of:
result = prompt + seed + sampler + steps + cfg_scale
The seed plays a huge part in this formula, so if you like an image and want to reproduce it you will need all the above data.
9) Scripts: enables prompt matrix and X/Y plot (which we’ll use later)
Here is an example generation from txt2img:
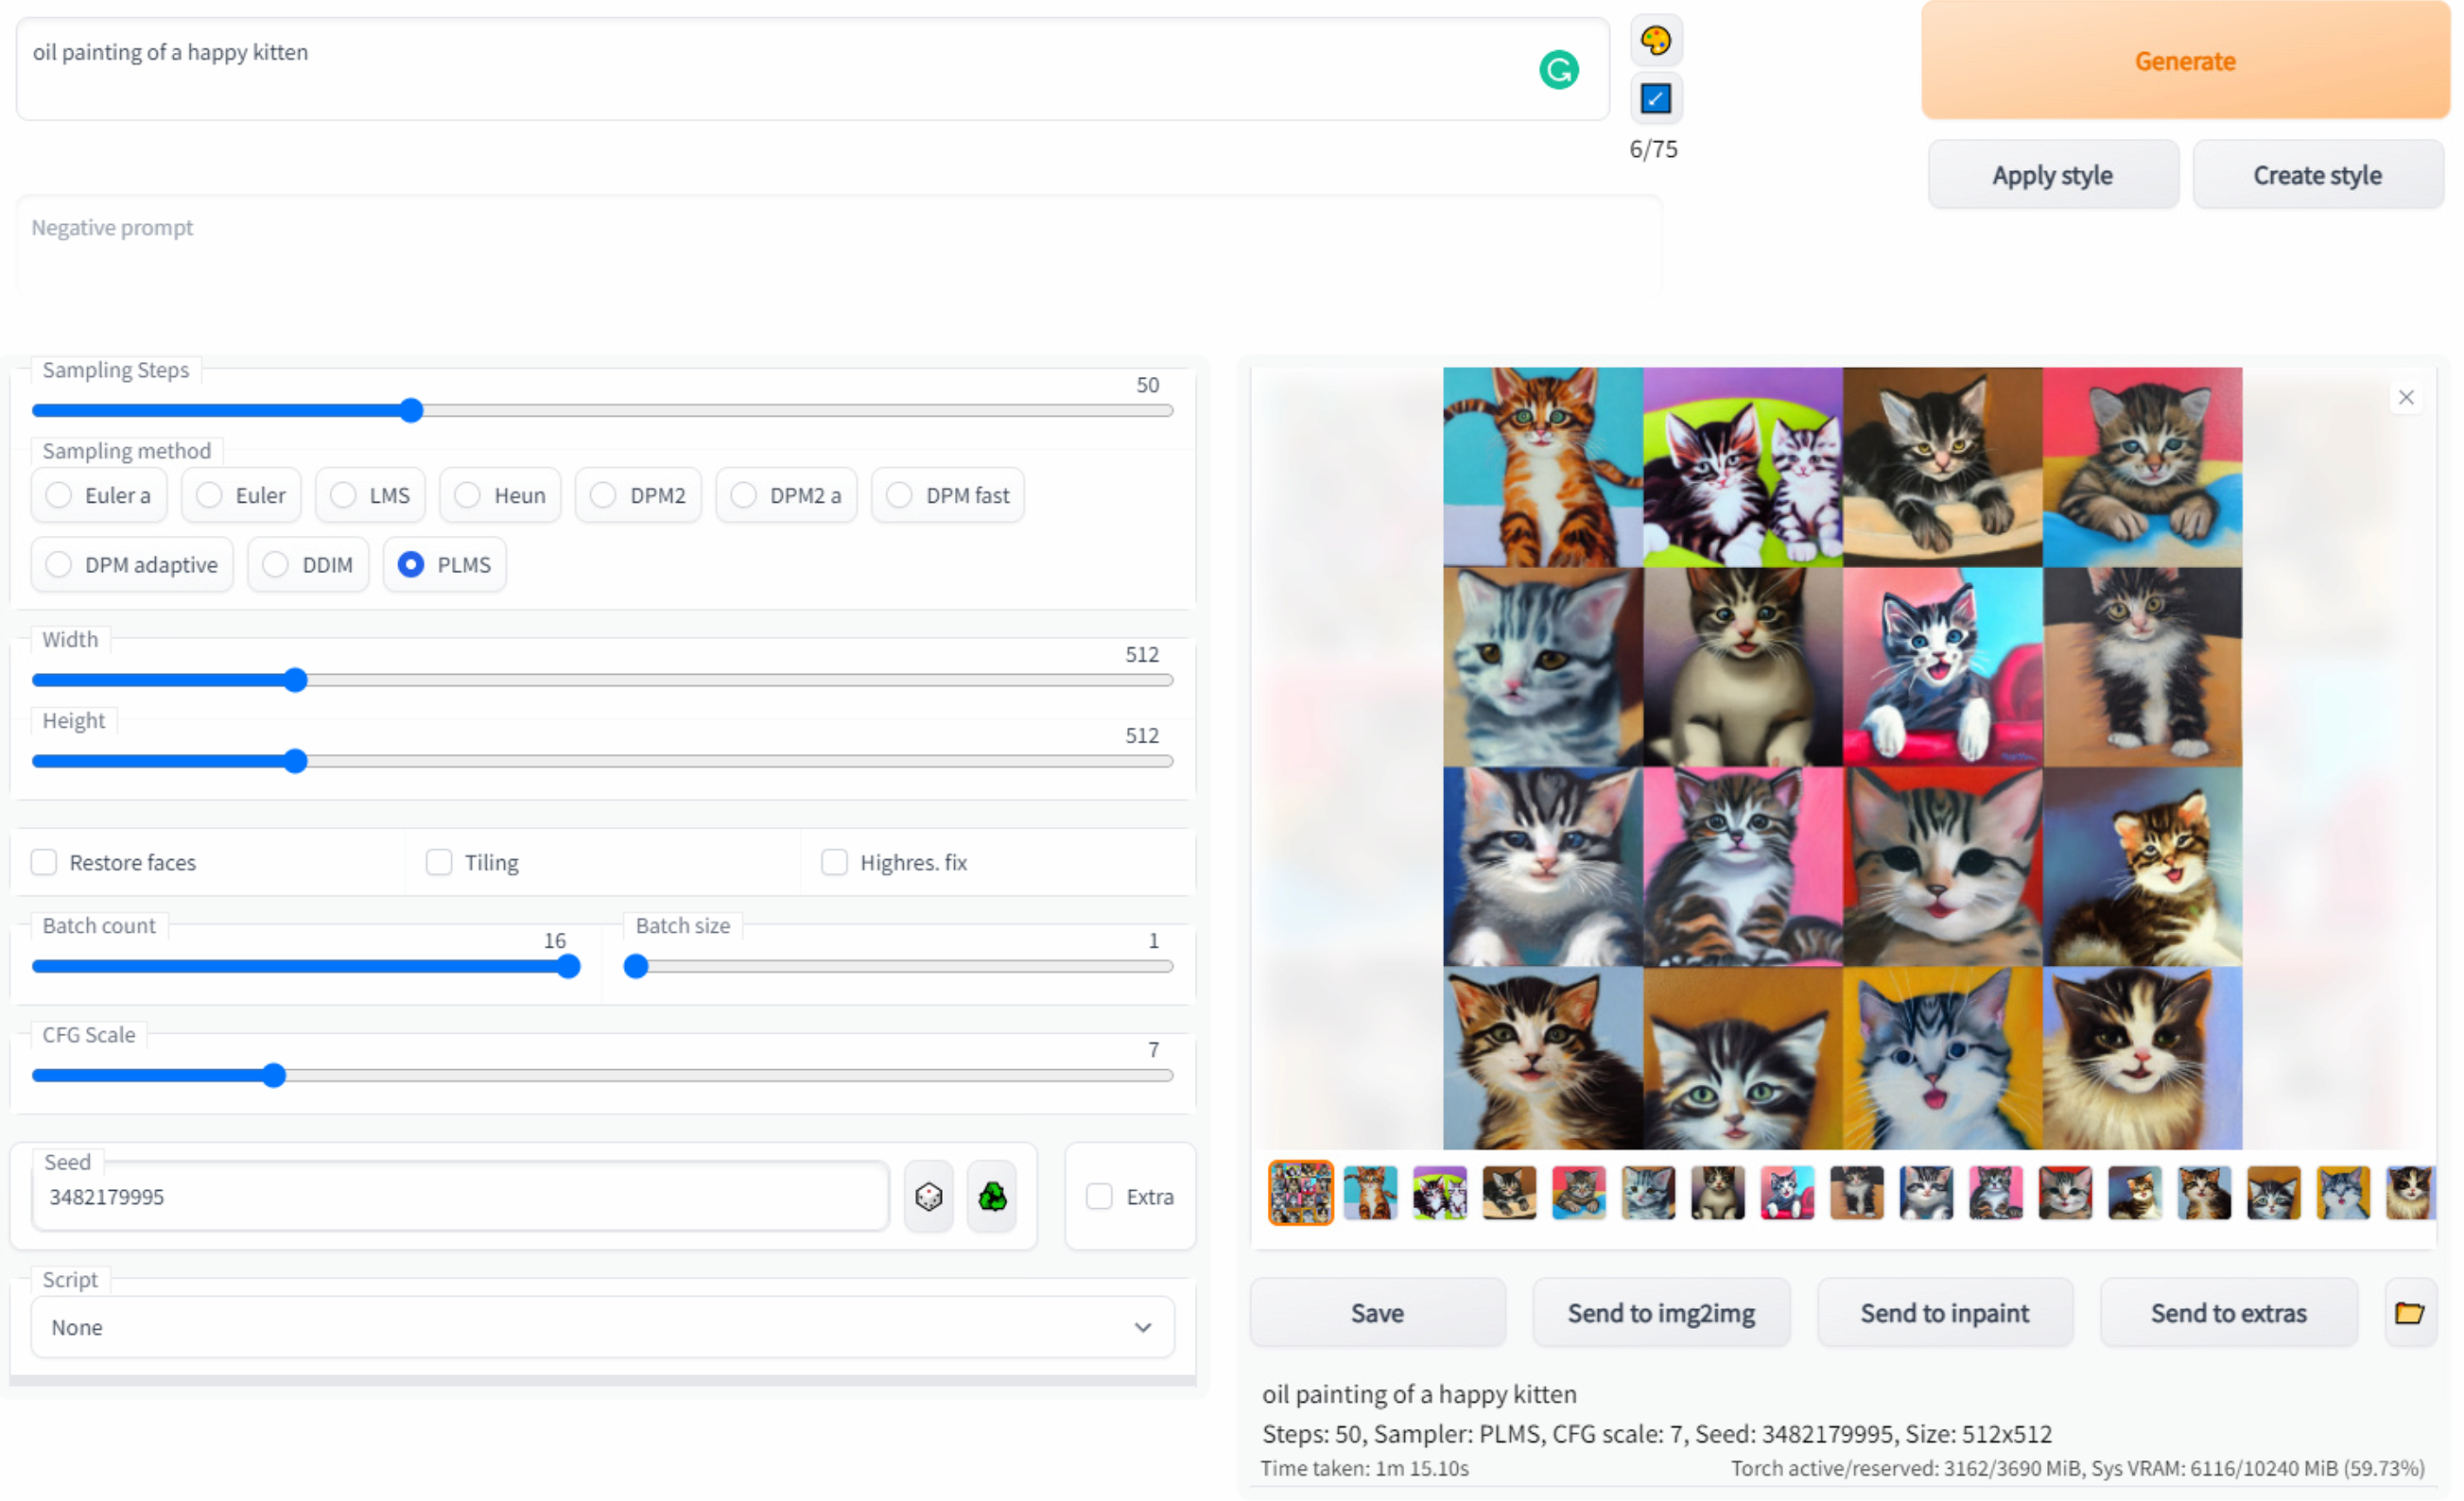
Once you find an image you like you can already use it, but you can also:
send it to “img2img” to create more versions similar to this one.
send it to “extras” to upscale to a higher resolution.
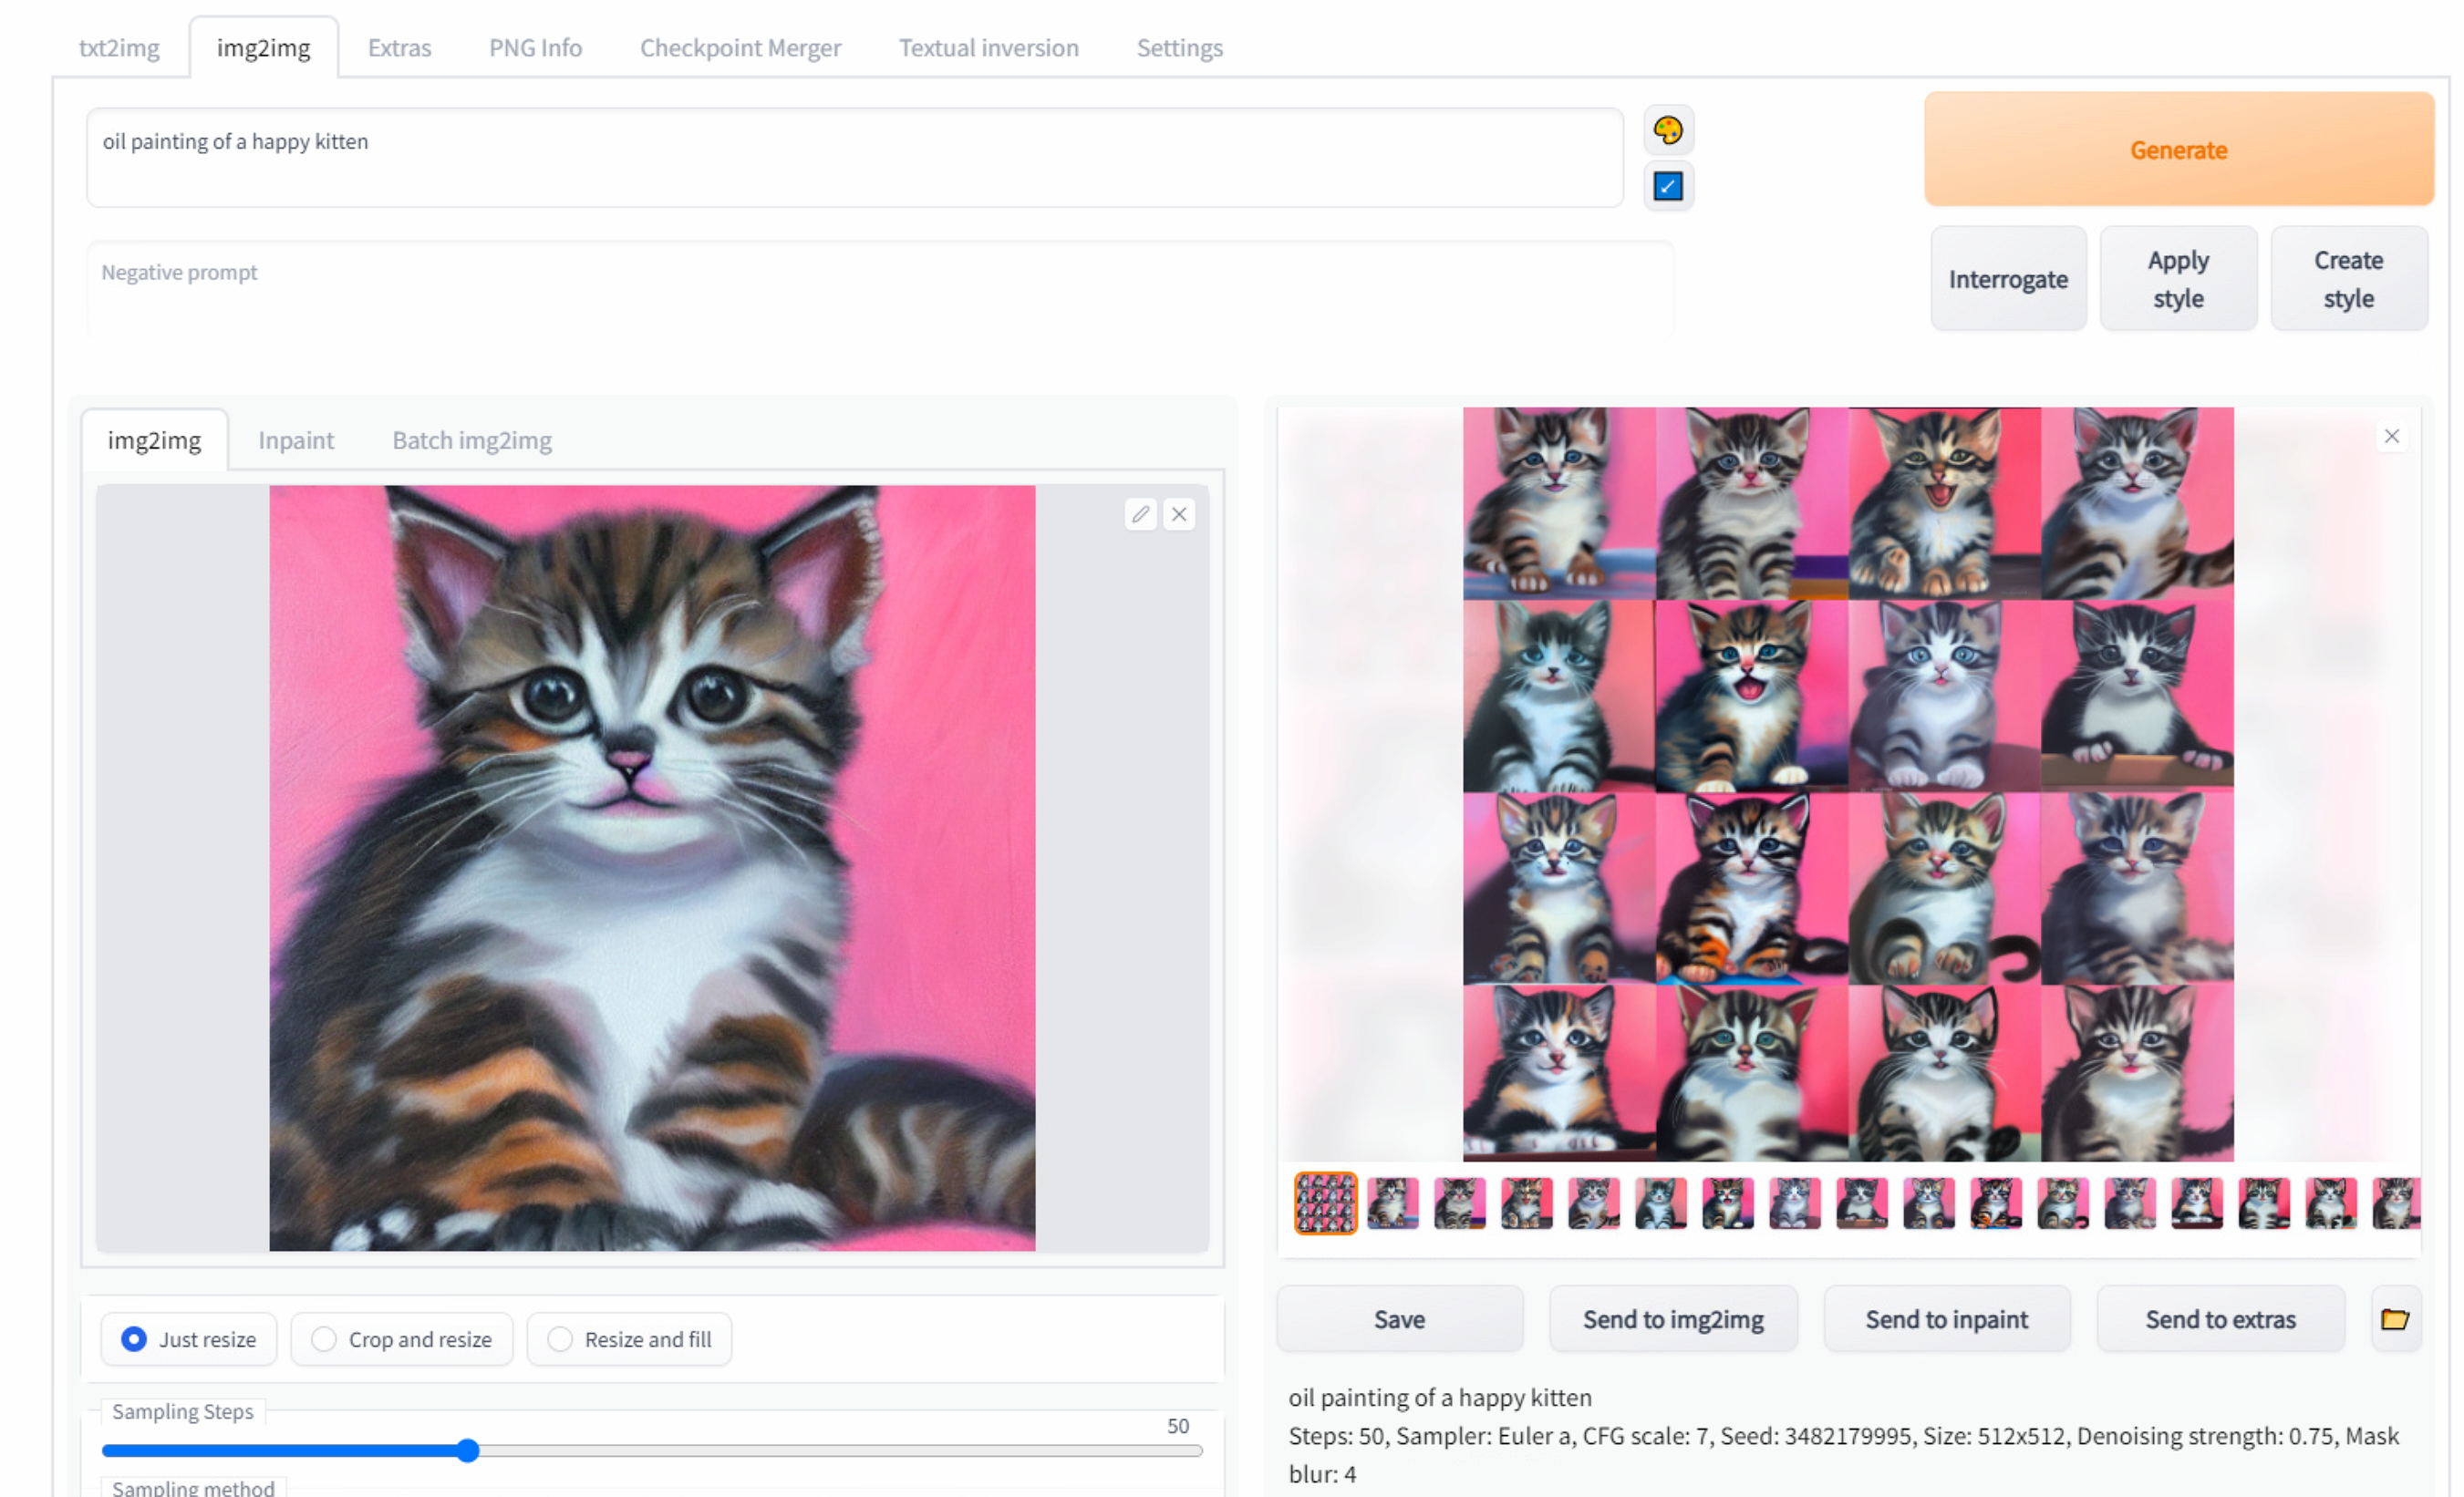
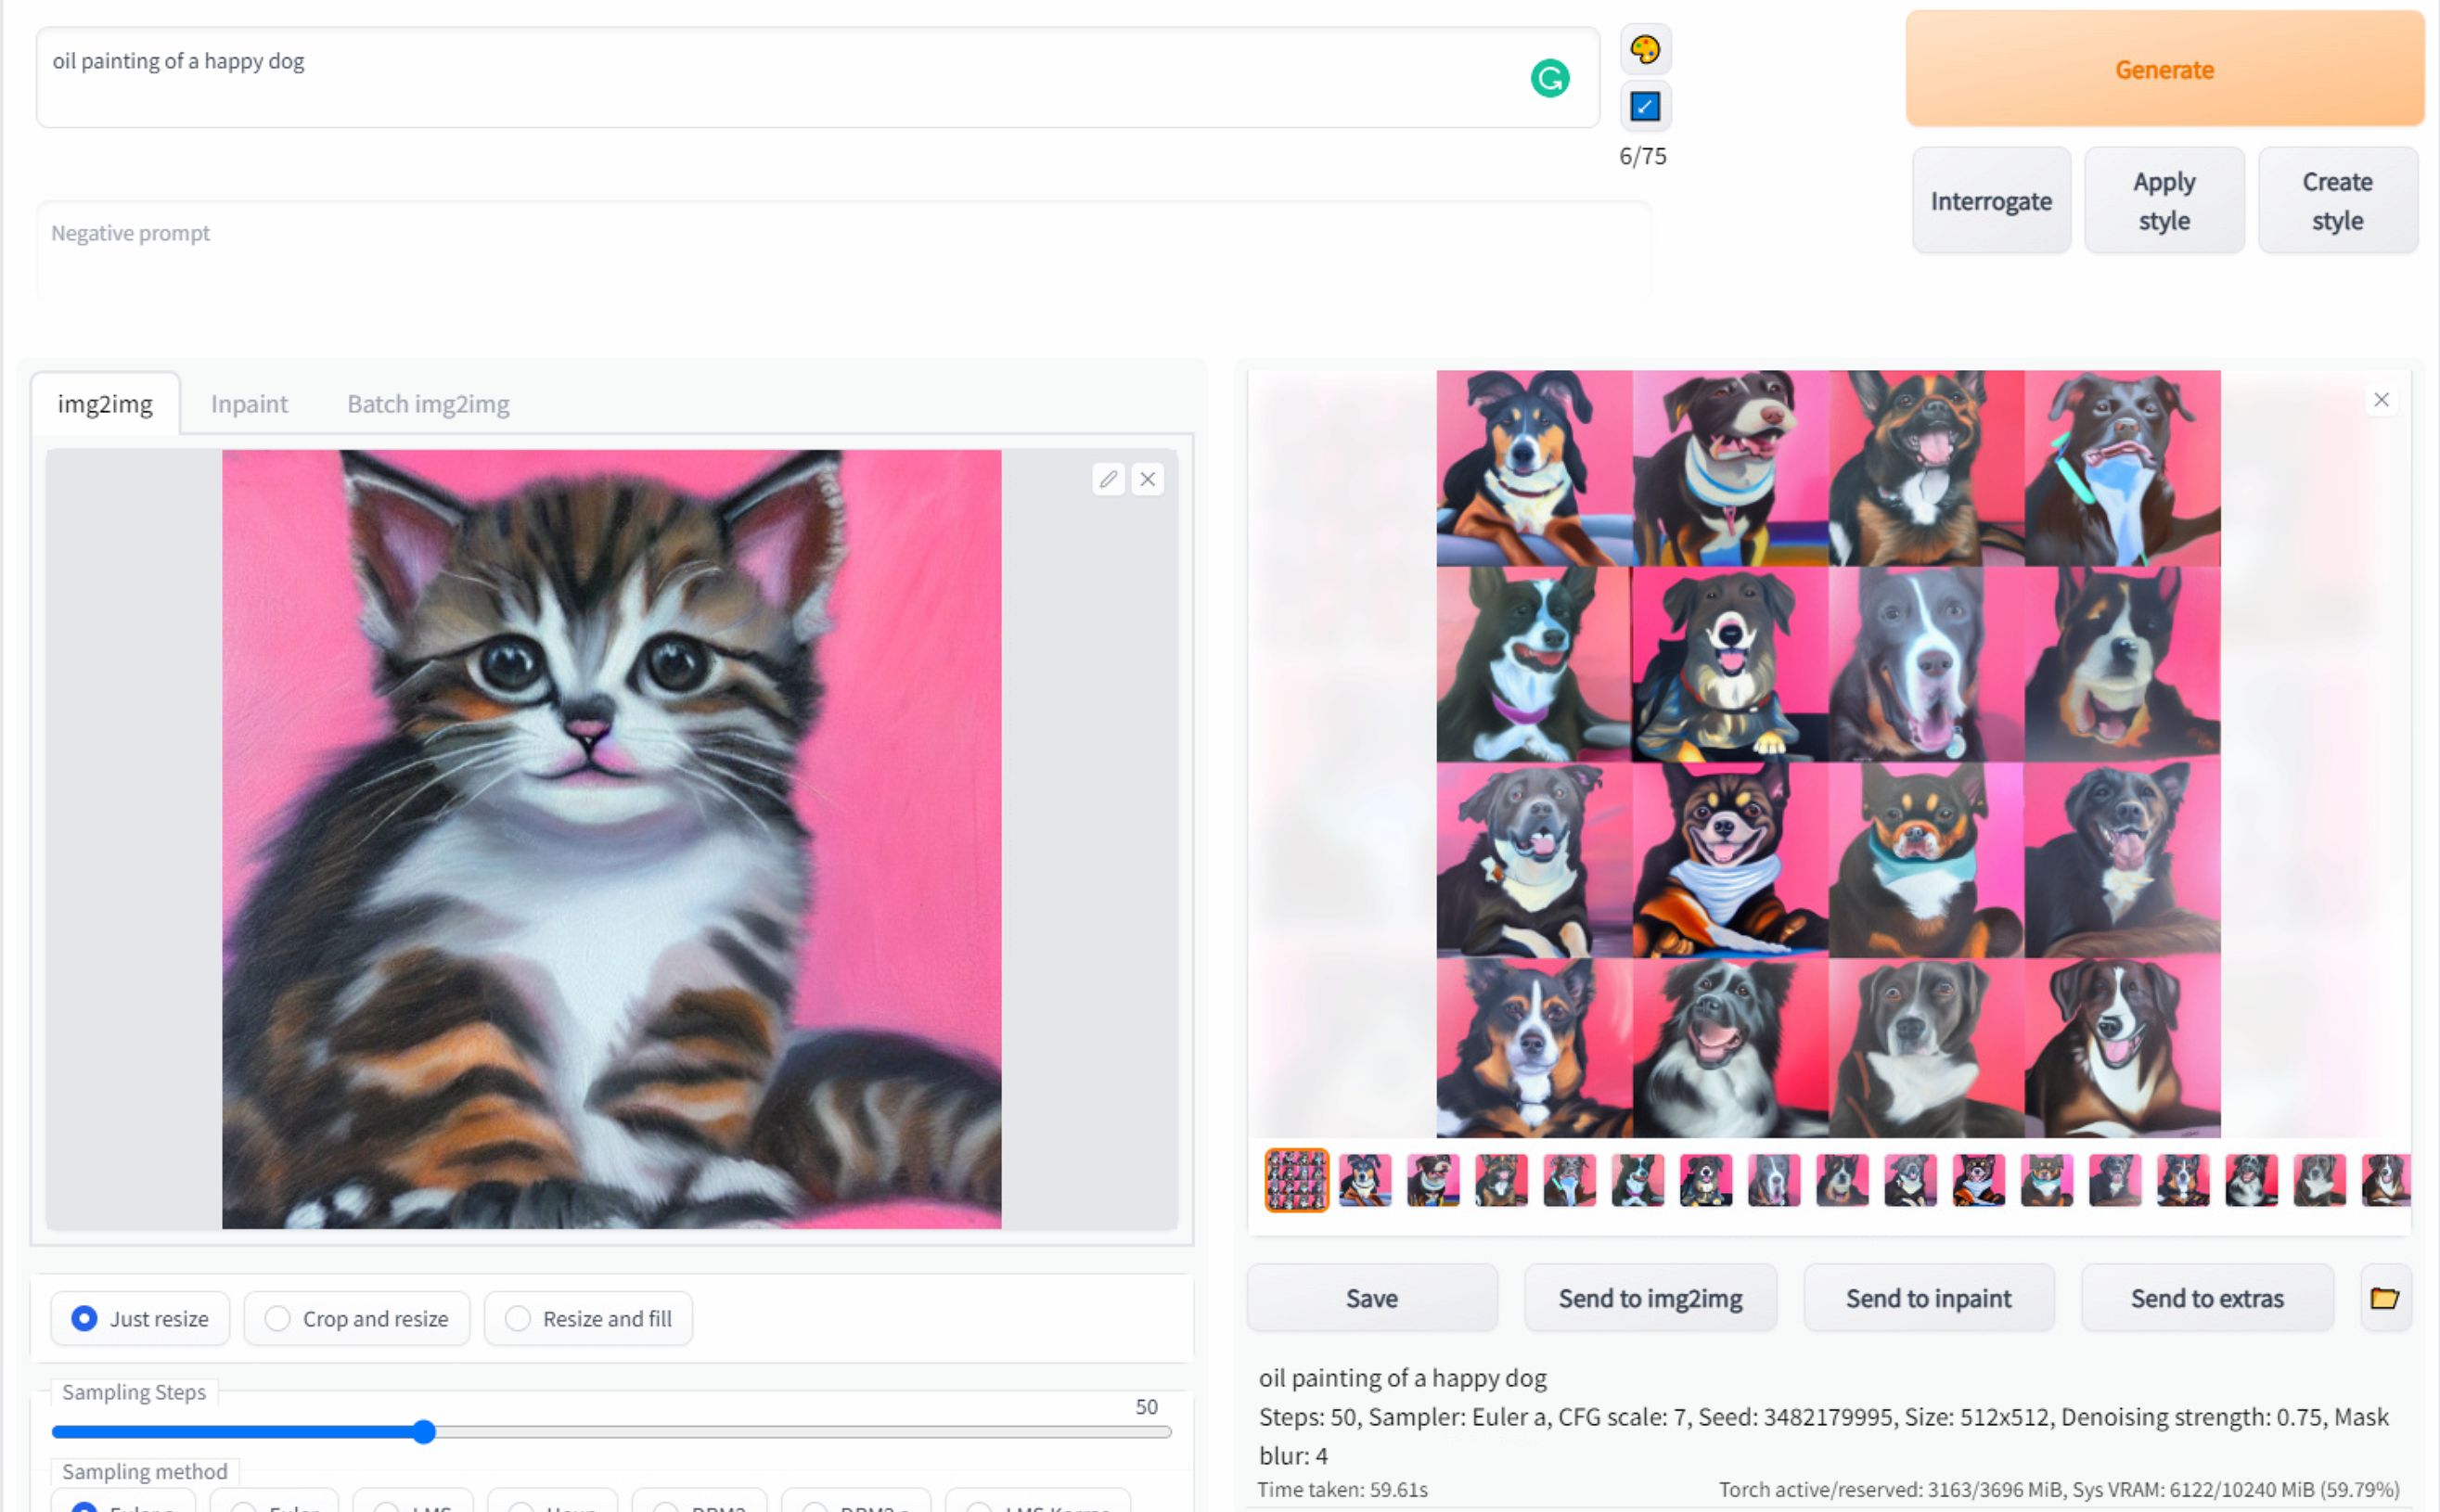
img2img
Contains most txt2img parameters and some more:
Image is the initial image to be used for the diffusion process.
Samplers are different from txt2img, some overlap but others are exclusive to one another (for example there is no PLMS in img2img).
Denoising Strenght, when increased, will allow img2img to deviate further from the initial image.
Here is an example of img2img running on top of one of the txt2img outputs from the last example:
A fun factor is that we can change the prompt too, so let’s try a new prompt with the same configs and initial image and change the kitten for a dog:
There are no limits to where you can get mixing txt2img, img2img, and different prompts. Let’s dive deeper into prompts and techniques for tweaking configs so we can expand even further the boundaries of what we can do with SD
Prompts: basics & beyond
The prompt is the most humane input of everything we provide to SD to make an image. There is not much ready-to-consume science behind crafting prompts, but there are tons of people experimenting and writing about their findings. I started small by typing whatever came to mind, then evolved by dissecting prompts of cool images I found at repositories linked below.
People that know about photography and art history are in for a treat, the more you know about art (artists, styles) and photography naming conventions (“golden hour”, framing names) the more you will be able to pump out precise images of what you want.
To compose a prompt, you don’t need to add all of the below, and word order might vary depending on preference, but I think this list sums up what you can think of to improve prompt preciseness. It’s not a rigid framework and you should fiddle around to find what works best for you:
Subject (person, cat, dog, pizza)
Environment (beach, stadium, park)
Framing (overview shot, close-up shot)
Lightning (morning lights, at night)
Art Style (oil painting, vector art, 3d render)
Artist Style (van gogh, picasso, andy warhol)
Details (4k, unreal engine, intricate details)
For example, I will generate an image with only a “Subject” in txt2img and add each of the above in order on the same seed and configs so we can see how the words are affecting the image generation:
cat
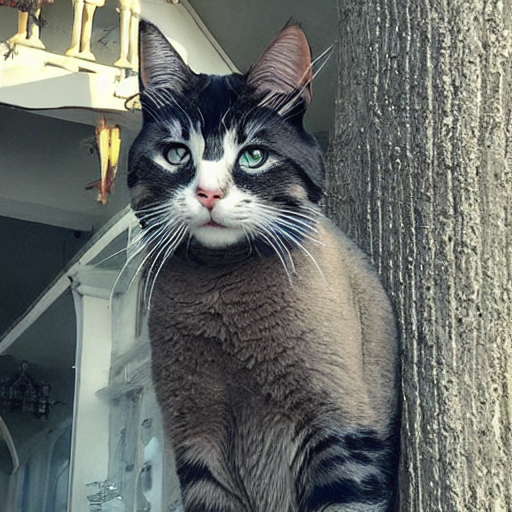
cat in a beach

overview shot of a cat in a beach
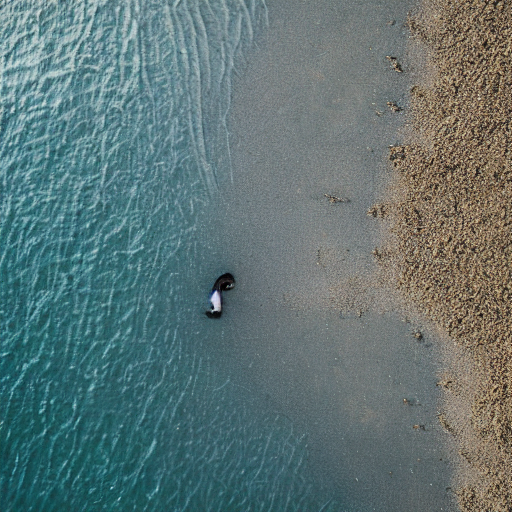
overview shot of a cat in a beach at night
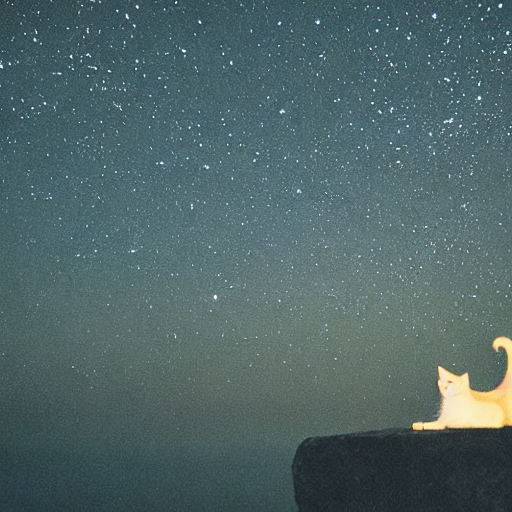
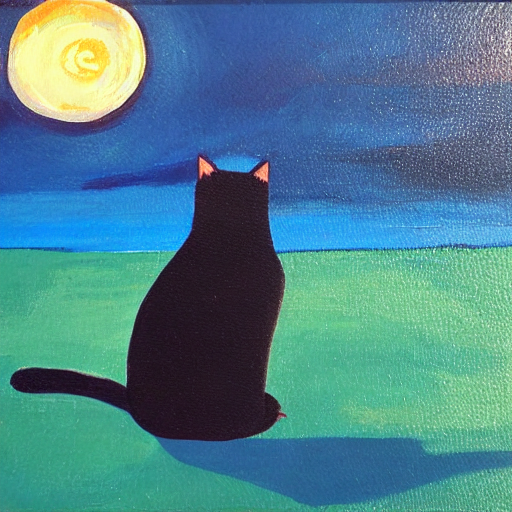
overview shot of a cat in a beach at night, acrylic painting
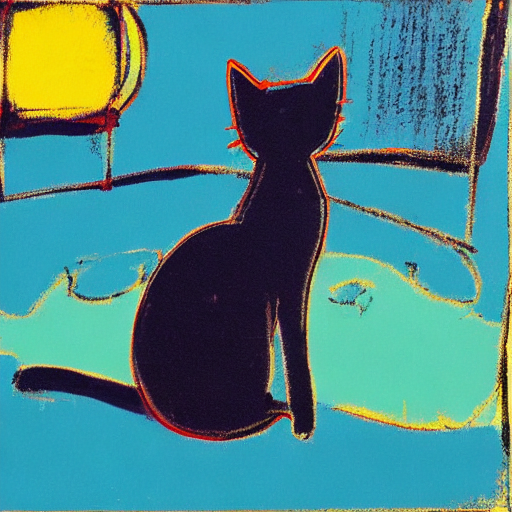
overview shot of a cat in a beach at night, acrylic painting by andy warhol
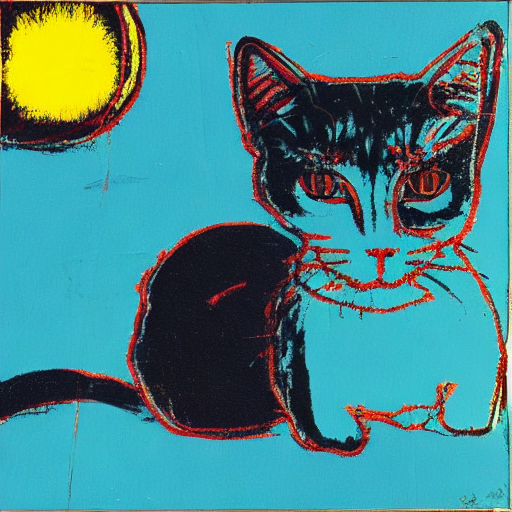
overview shot of a cat in a beach at night, acrylic painting by andy warhol, intricate details
Read more about SD and prompts
Dissecting prompts with “prompt matrix”
We can create matrixes that visually dissect for us what is happening in a prompt, ina. the process is much similar to the above one but automated. I find this especially useful to clean and remove words that aren’t adding anything to the final result, and also to understand what composes a beautiful public prompt. Head to lexica.art or your preferred prompt repository and find one you like:
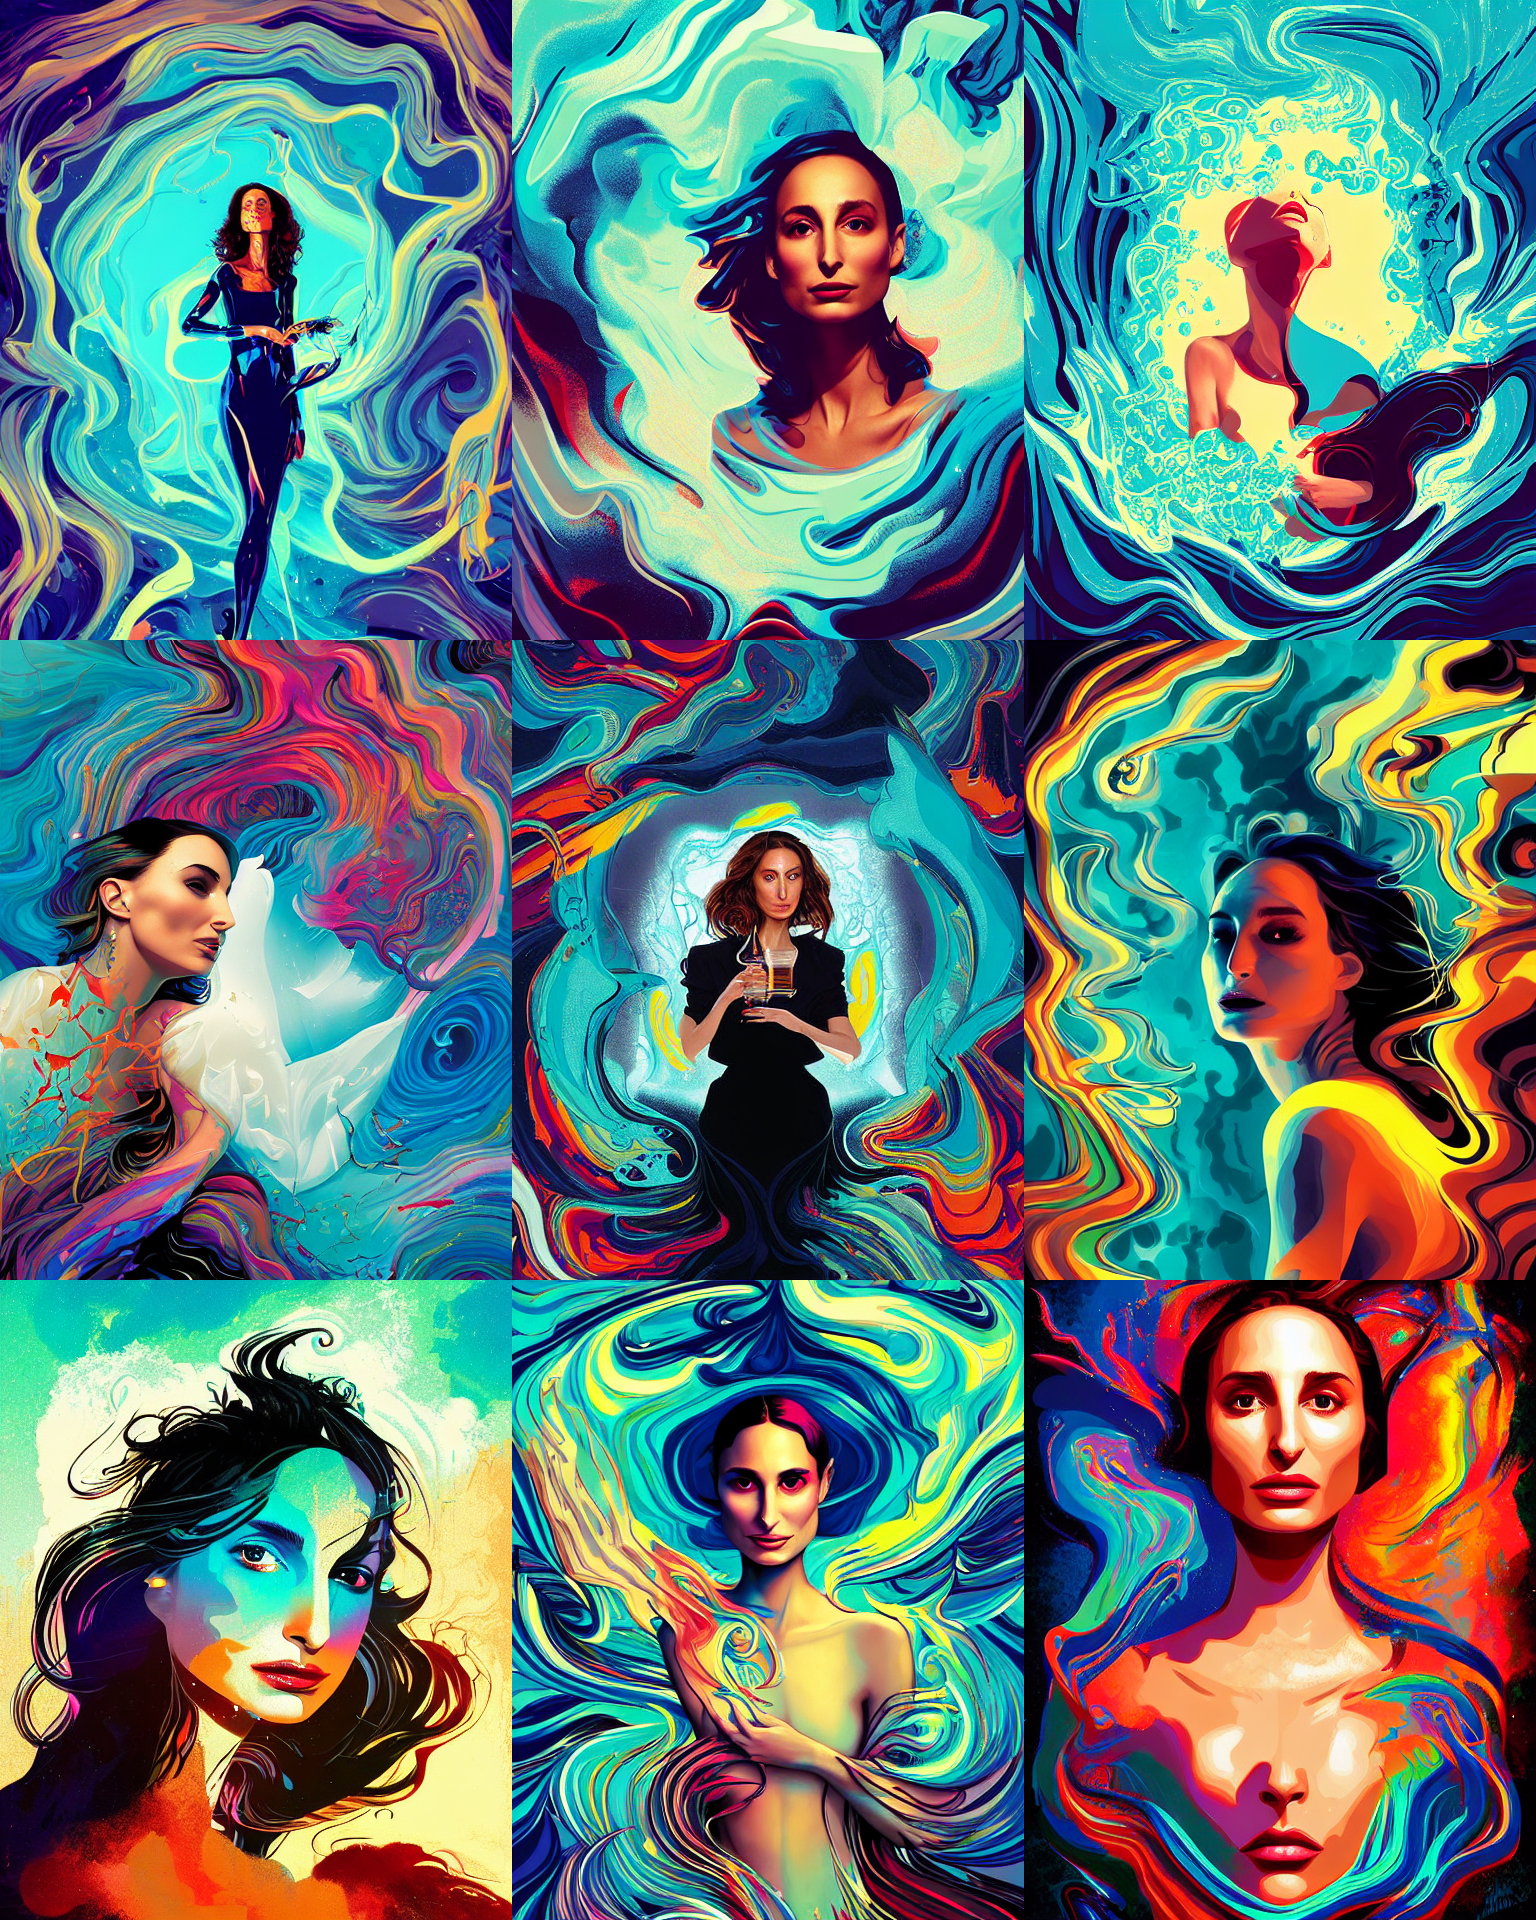
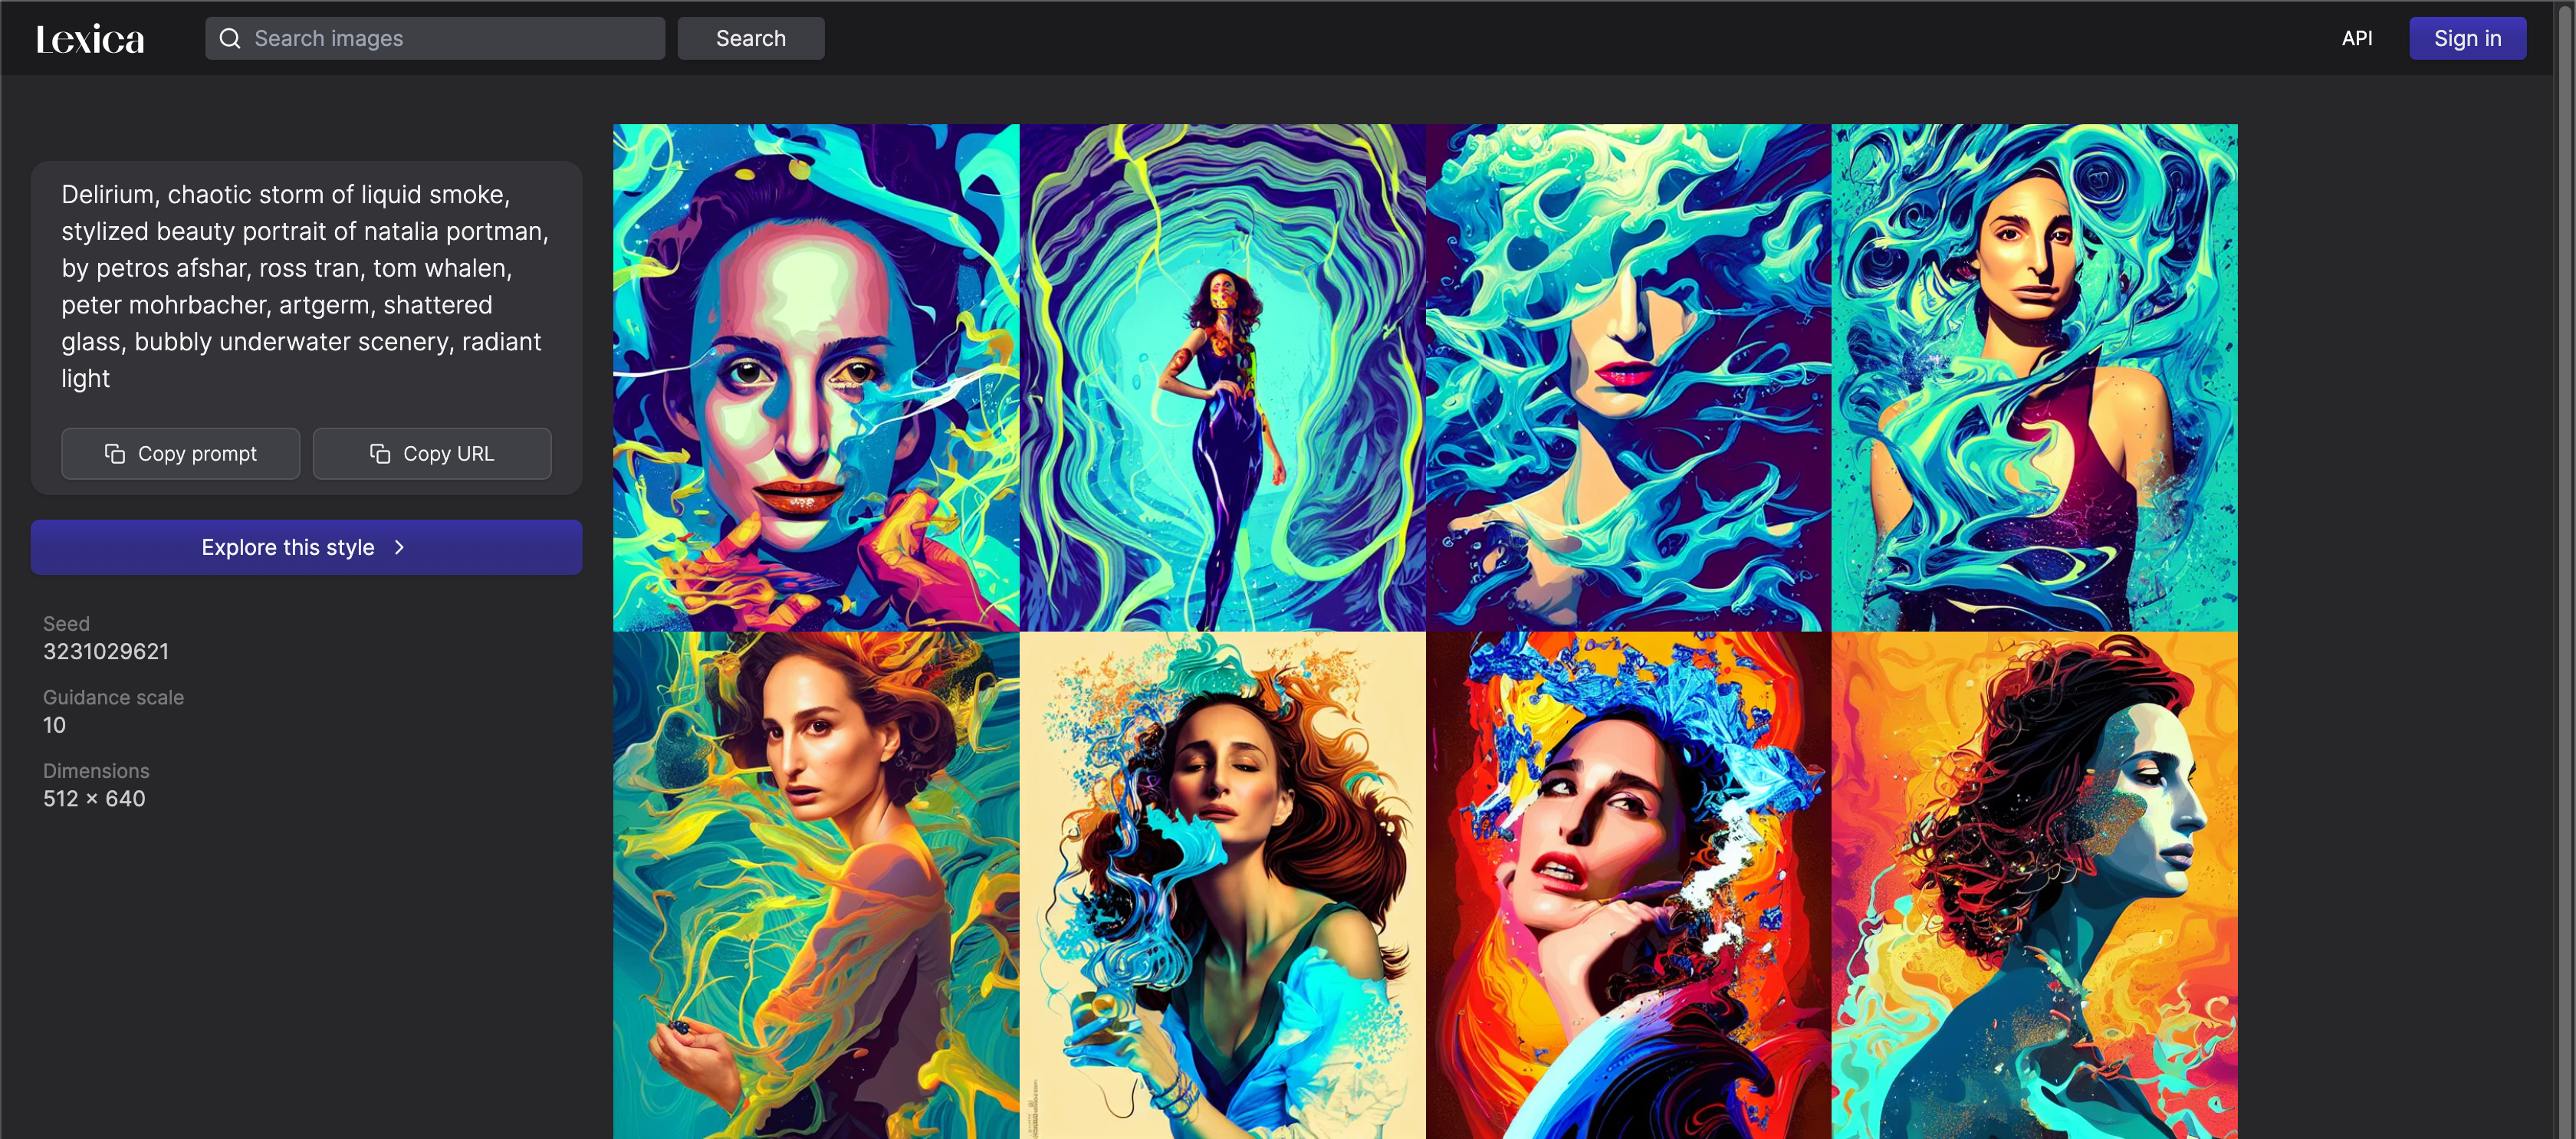 > delirium, chaotic storm of liquid smoke, stylized beauty portrait of natalia portman, by petros afshar, ross tran, tom whalen, peter mohrbacher, artgerm, shattered glass, bubbly underwater scenery, radiant light > Steps: 50, Sampler: DDIM, CFG scale: 10, Seed: 3231029621, Size: 512x640
These configs should get close to the website results:
Now let’s use the prompt matrix script that allows us to breakdown this prompt into many parts and it will show us how the image looks like for every possible combination:
Original Prompt
delirium, chaotic storm of liquid smoke, stylized beauty portrait of natalia portman, by petros afshar, ross tran, tom whalen, peter mohrbacher, artgerm, shattered glass, bubbly underwater scenery, radiant light
Prompt Broken down into matrix
delirium|chaotic storm of liquid smoke|stylized beauty portrait of natalia portman|by petros afshar, ross tran, tom whalen, peter mohrbacher, artgerm| shattered glass|bubbly underwater scenery|radiant light
When you enable the prompt matrix script you can add “|” as a break so it knows how to build the matrix.

When using this script. “Batch Count” will be ignored. Here is a matrix using the same seed as the first image from the previous batch (You will find it complete at the bottom-right here):
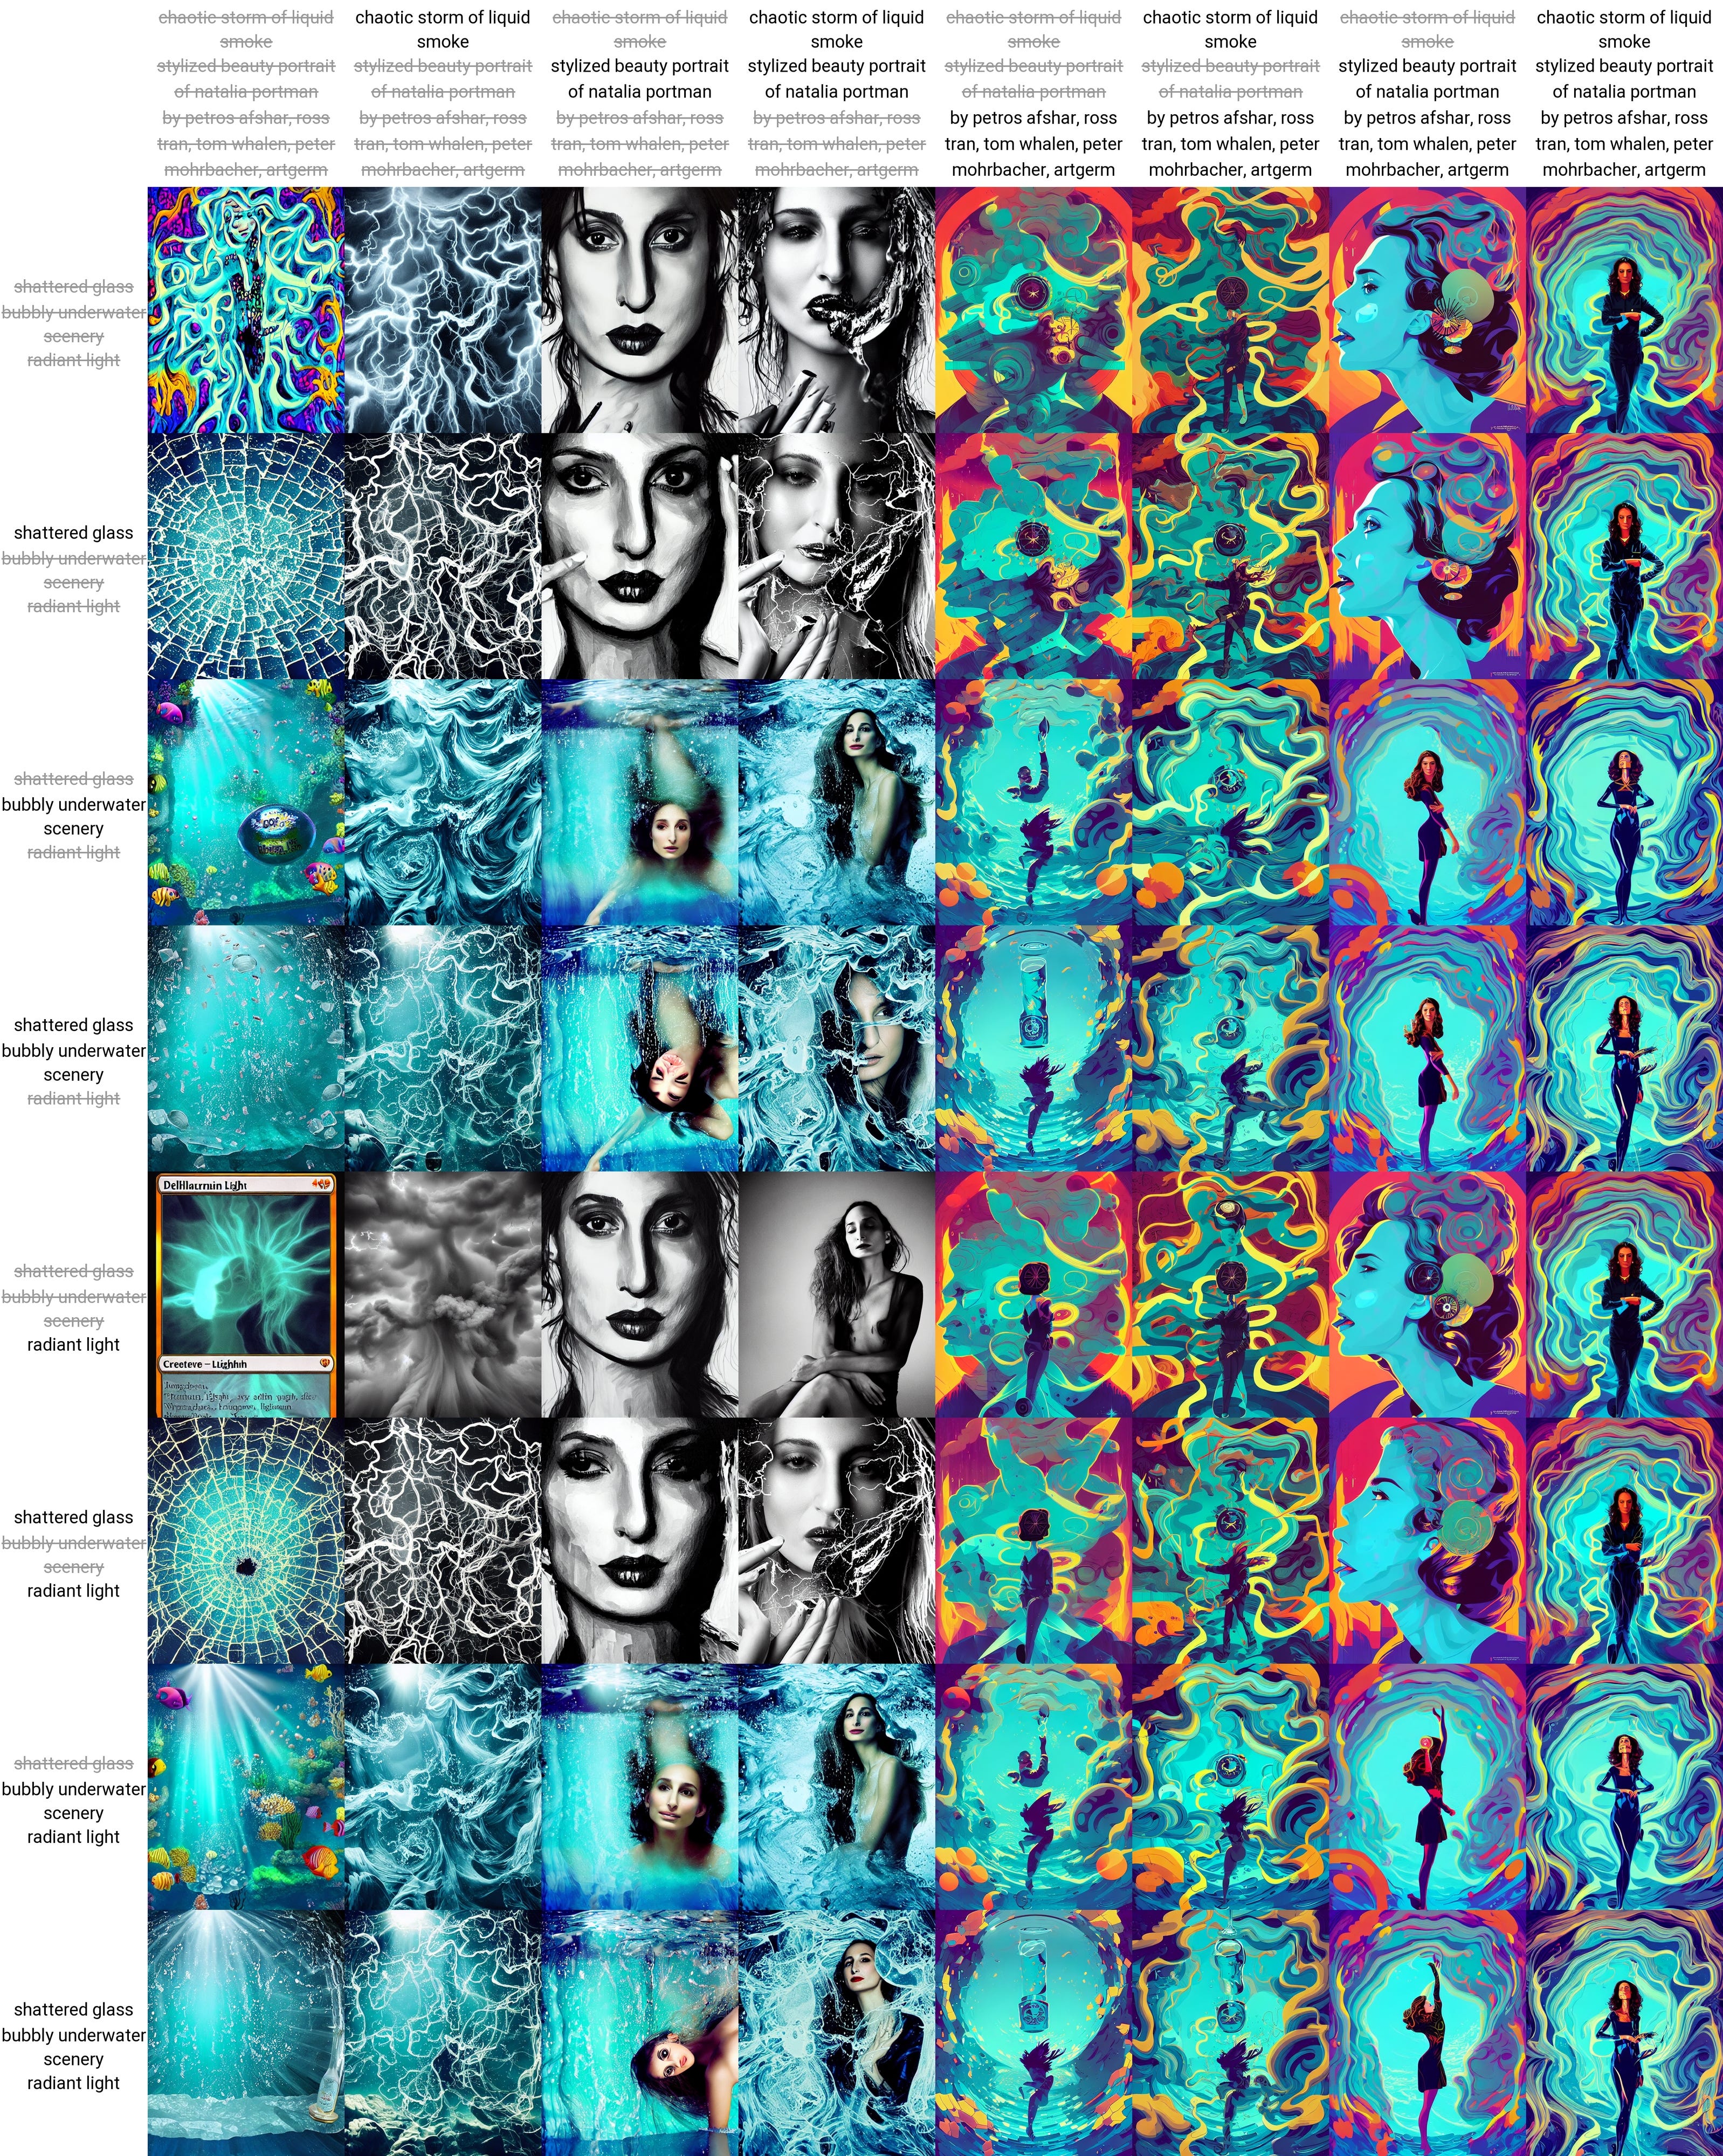
This feature allows you to select one image from the matrix and then look at the prompt that made it. The grey strikes text means that part has been omitted. The first image (top-left) is just the first part of the prompt before the first “|” (in this case, “delirium”). I use this a lot with my prompts to find out what words are influencing the final result and how.
Fine-tuning configs with “X/Y plots”
The X/Y plot script will also create a matrix but we can decide what the X (horizontal) and Y (vertical) axes are:
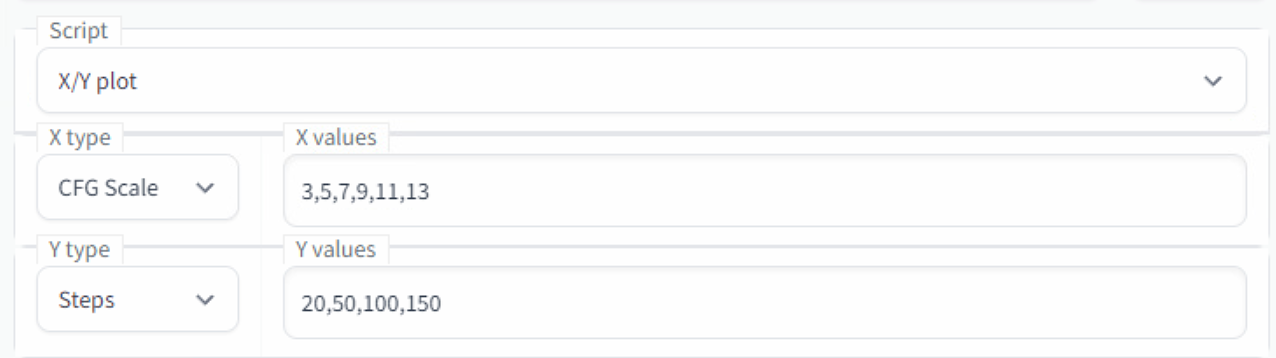
This script is extremely useful for finding out the best sampler, CFG scale, and step count for what you want to do. I will run the above configs for the same prompt and seed from the previous example. Unlike in the prompt matrix, “Batch Count” does work here so set it to 1 if you don’t want it to take too long to generate:
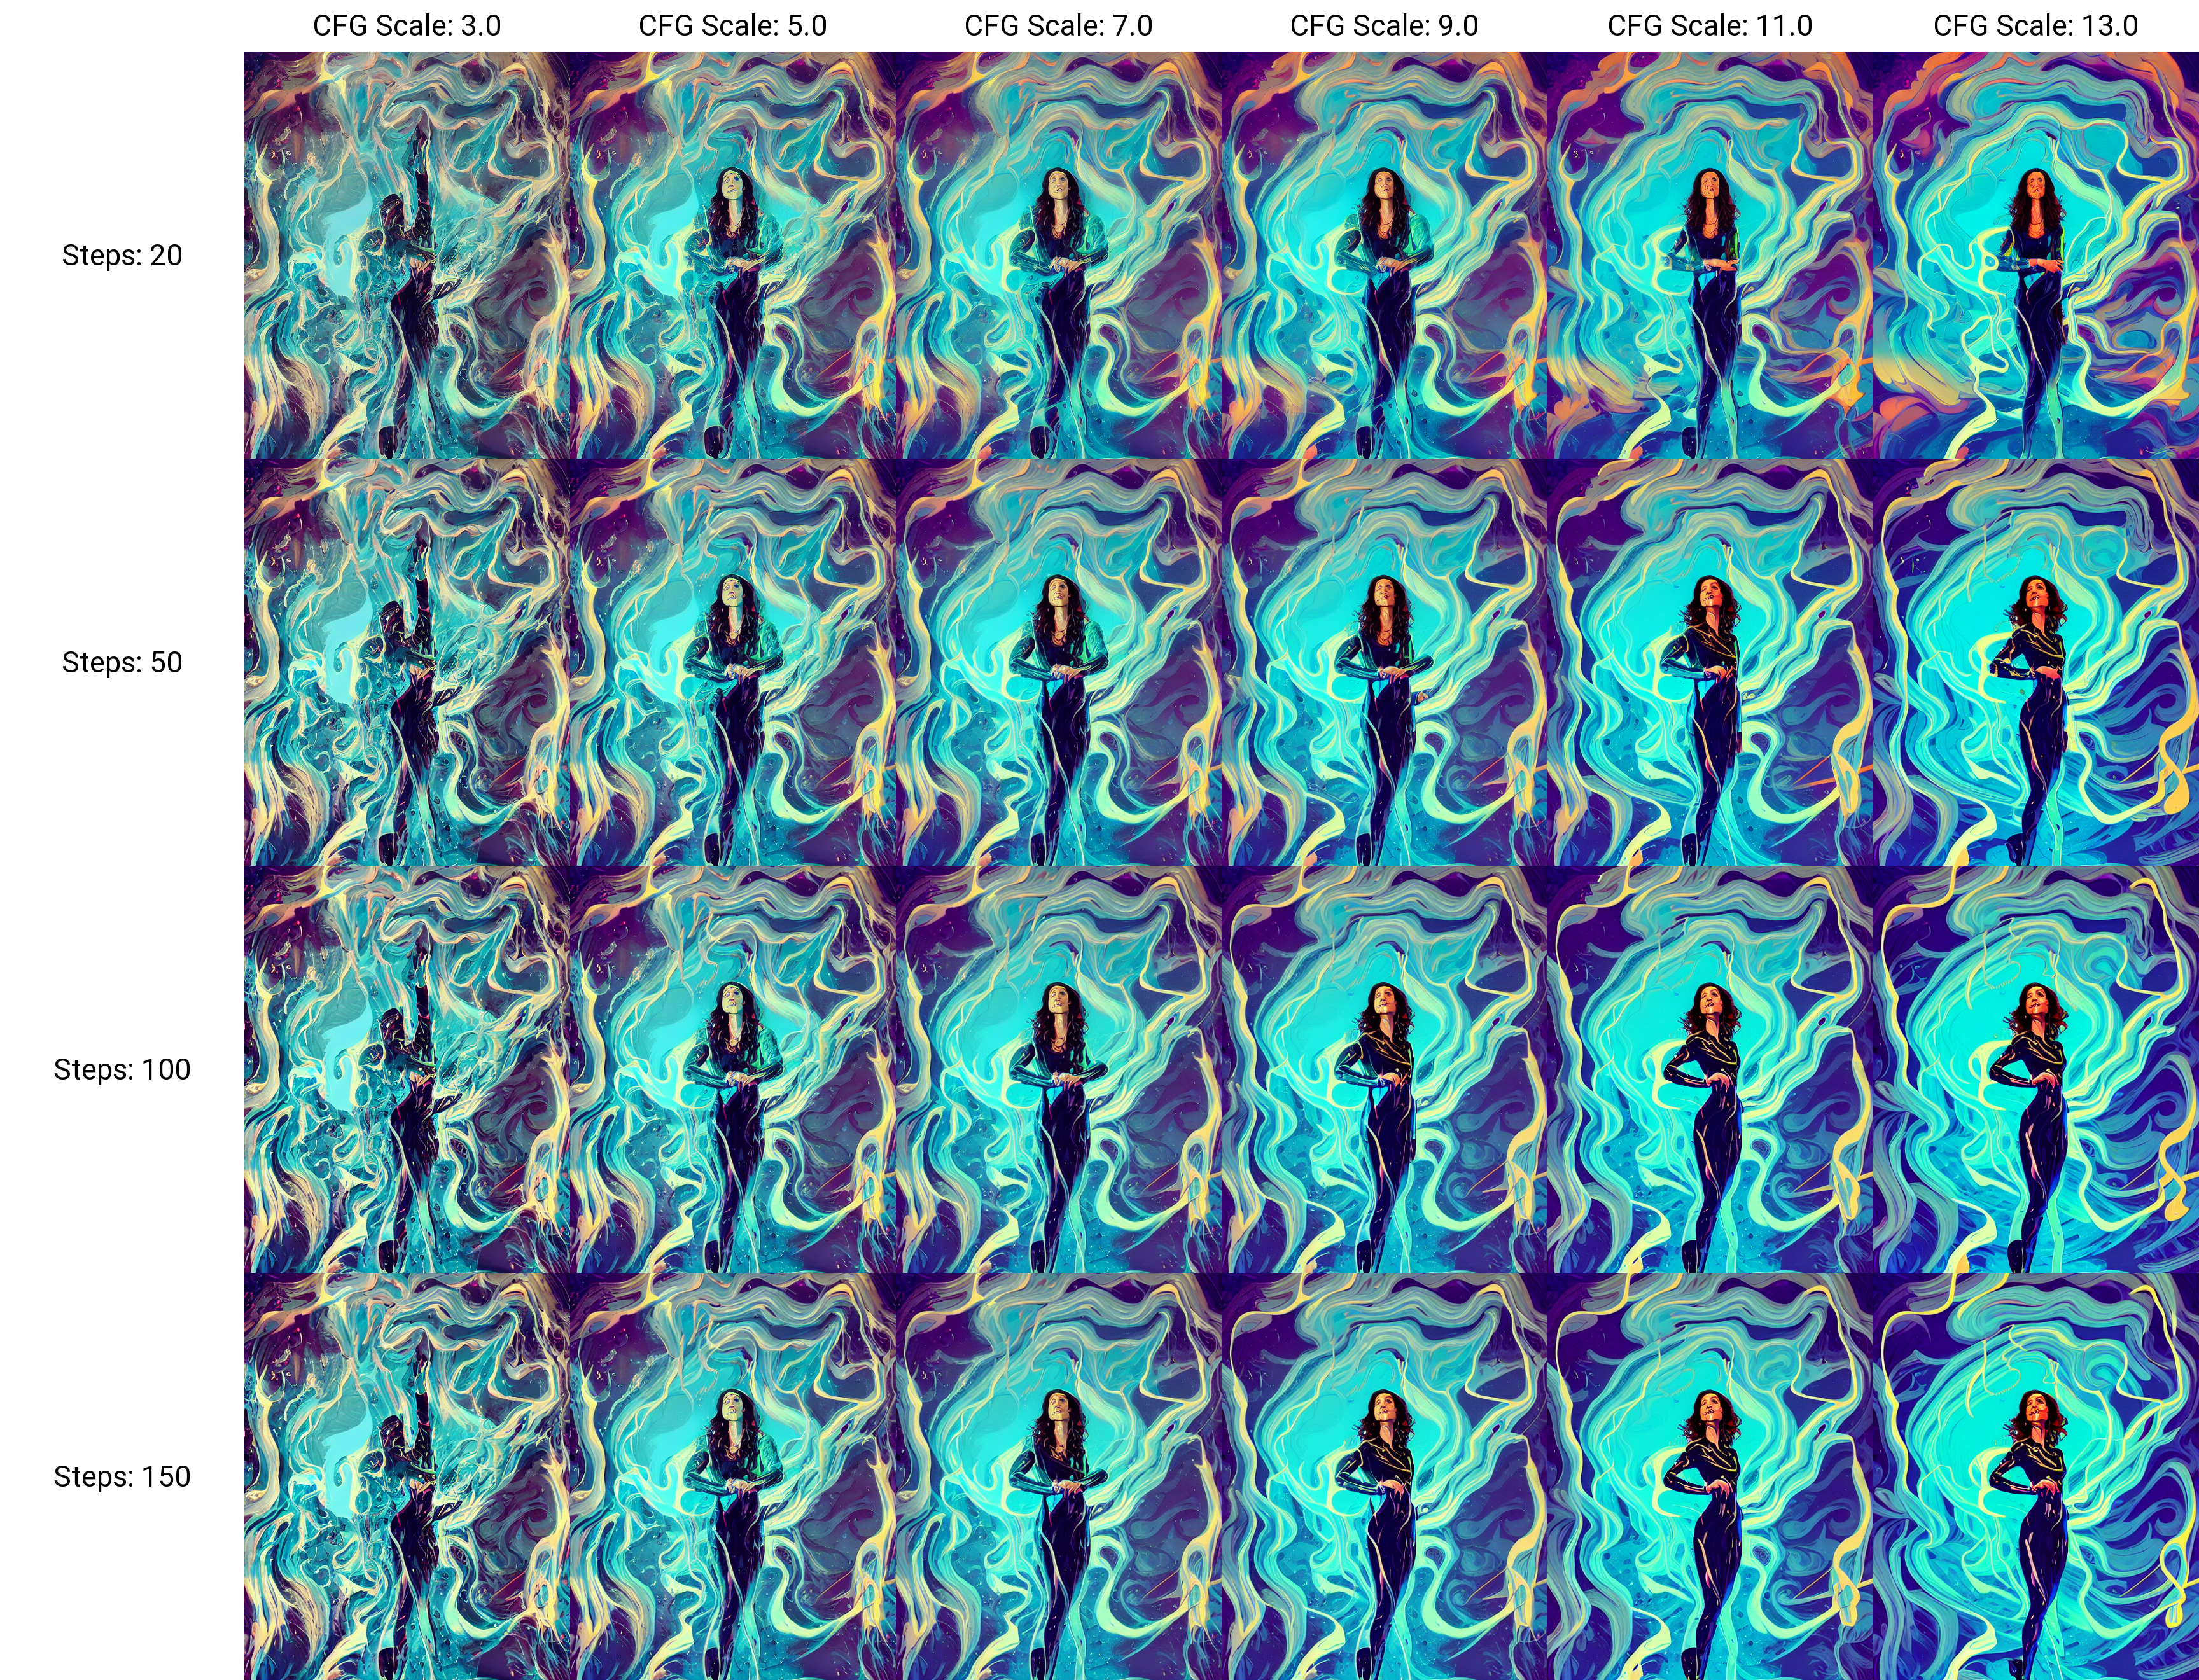
You can make X/Y Plots with any variables, not just these 2, so have fun finding the config that makes the cooler images for your desired prompt! I find this script extremely useful to figure out sampler, steps, and CFG scale for a prompt.
Upscaling:
In the “Extras” tab we can find the upscalers:
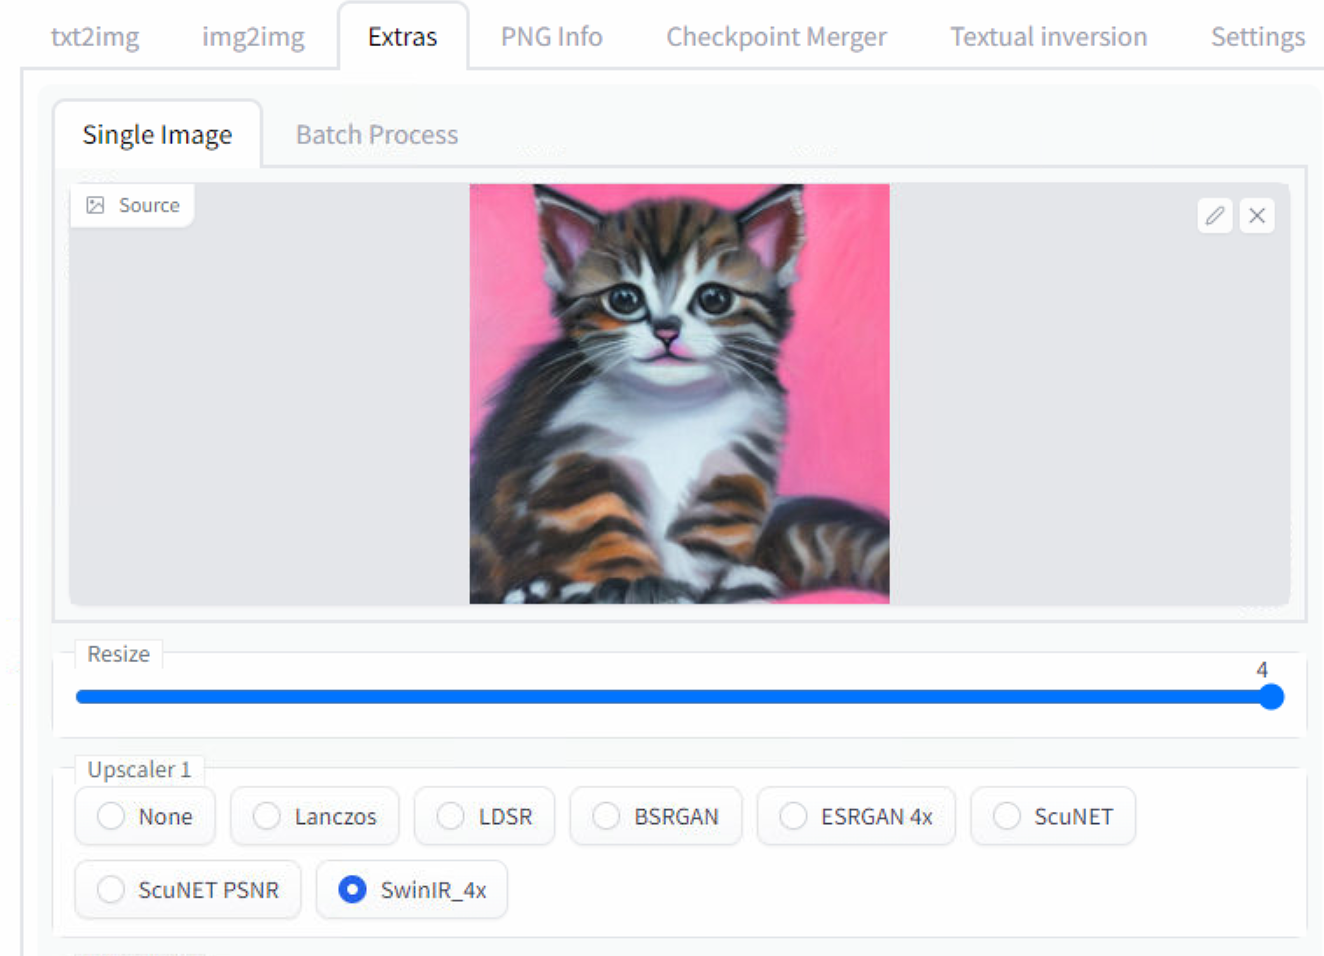
Again, this is something you will experiment with depending on what you want. I often like to use “SwinIR” on both upscale boxes, but in this example I preferred “ESRGAN” results:

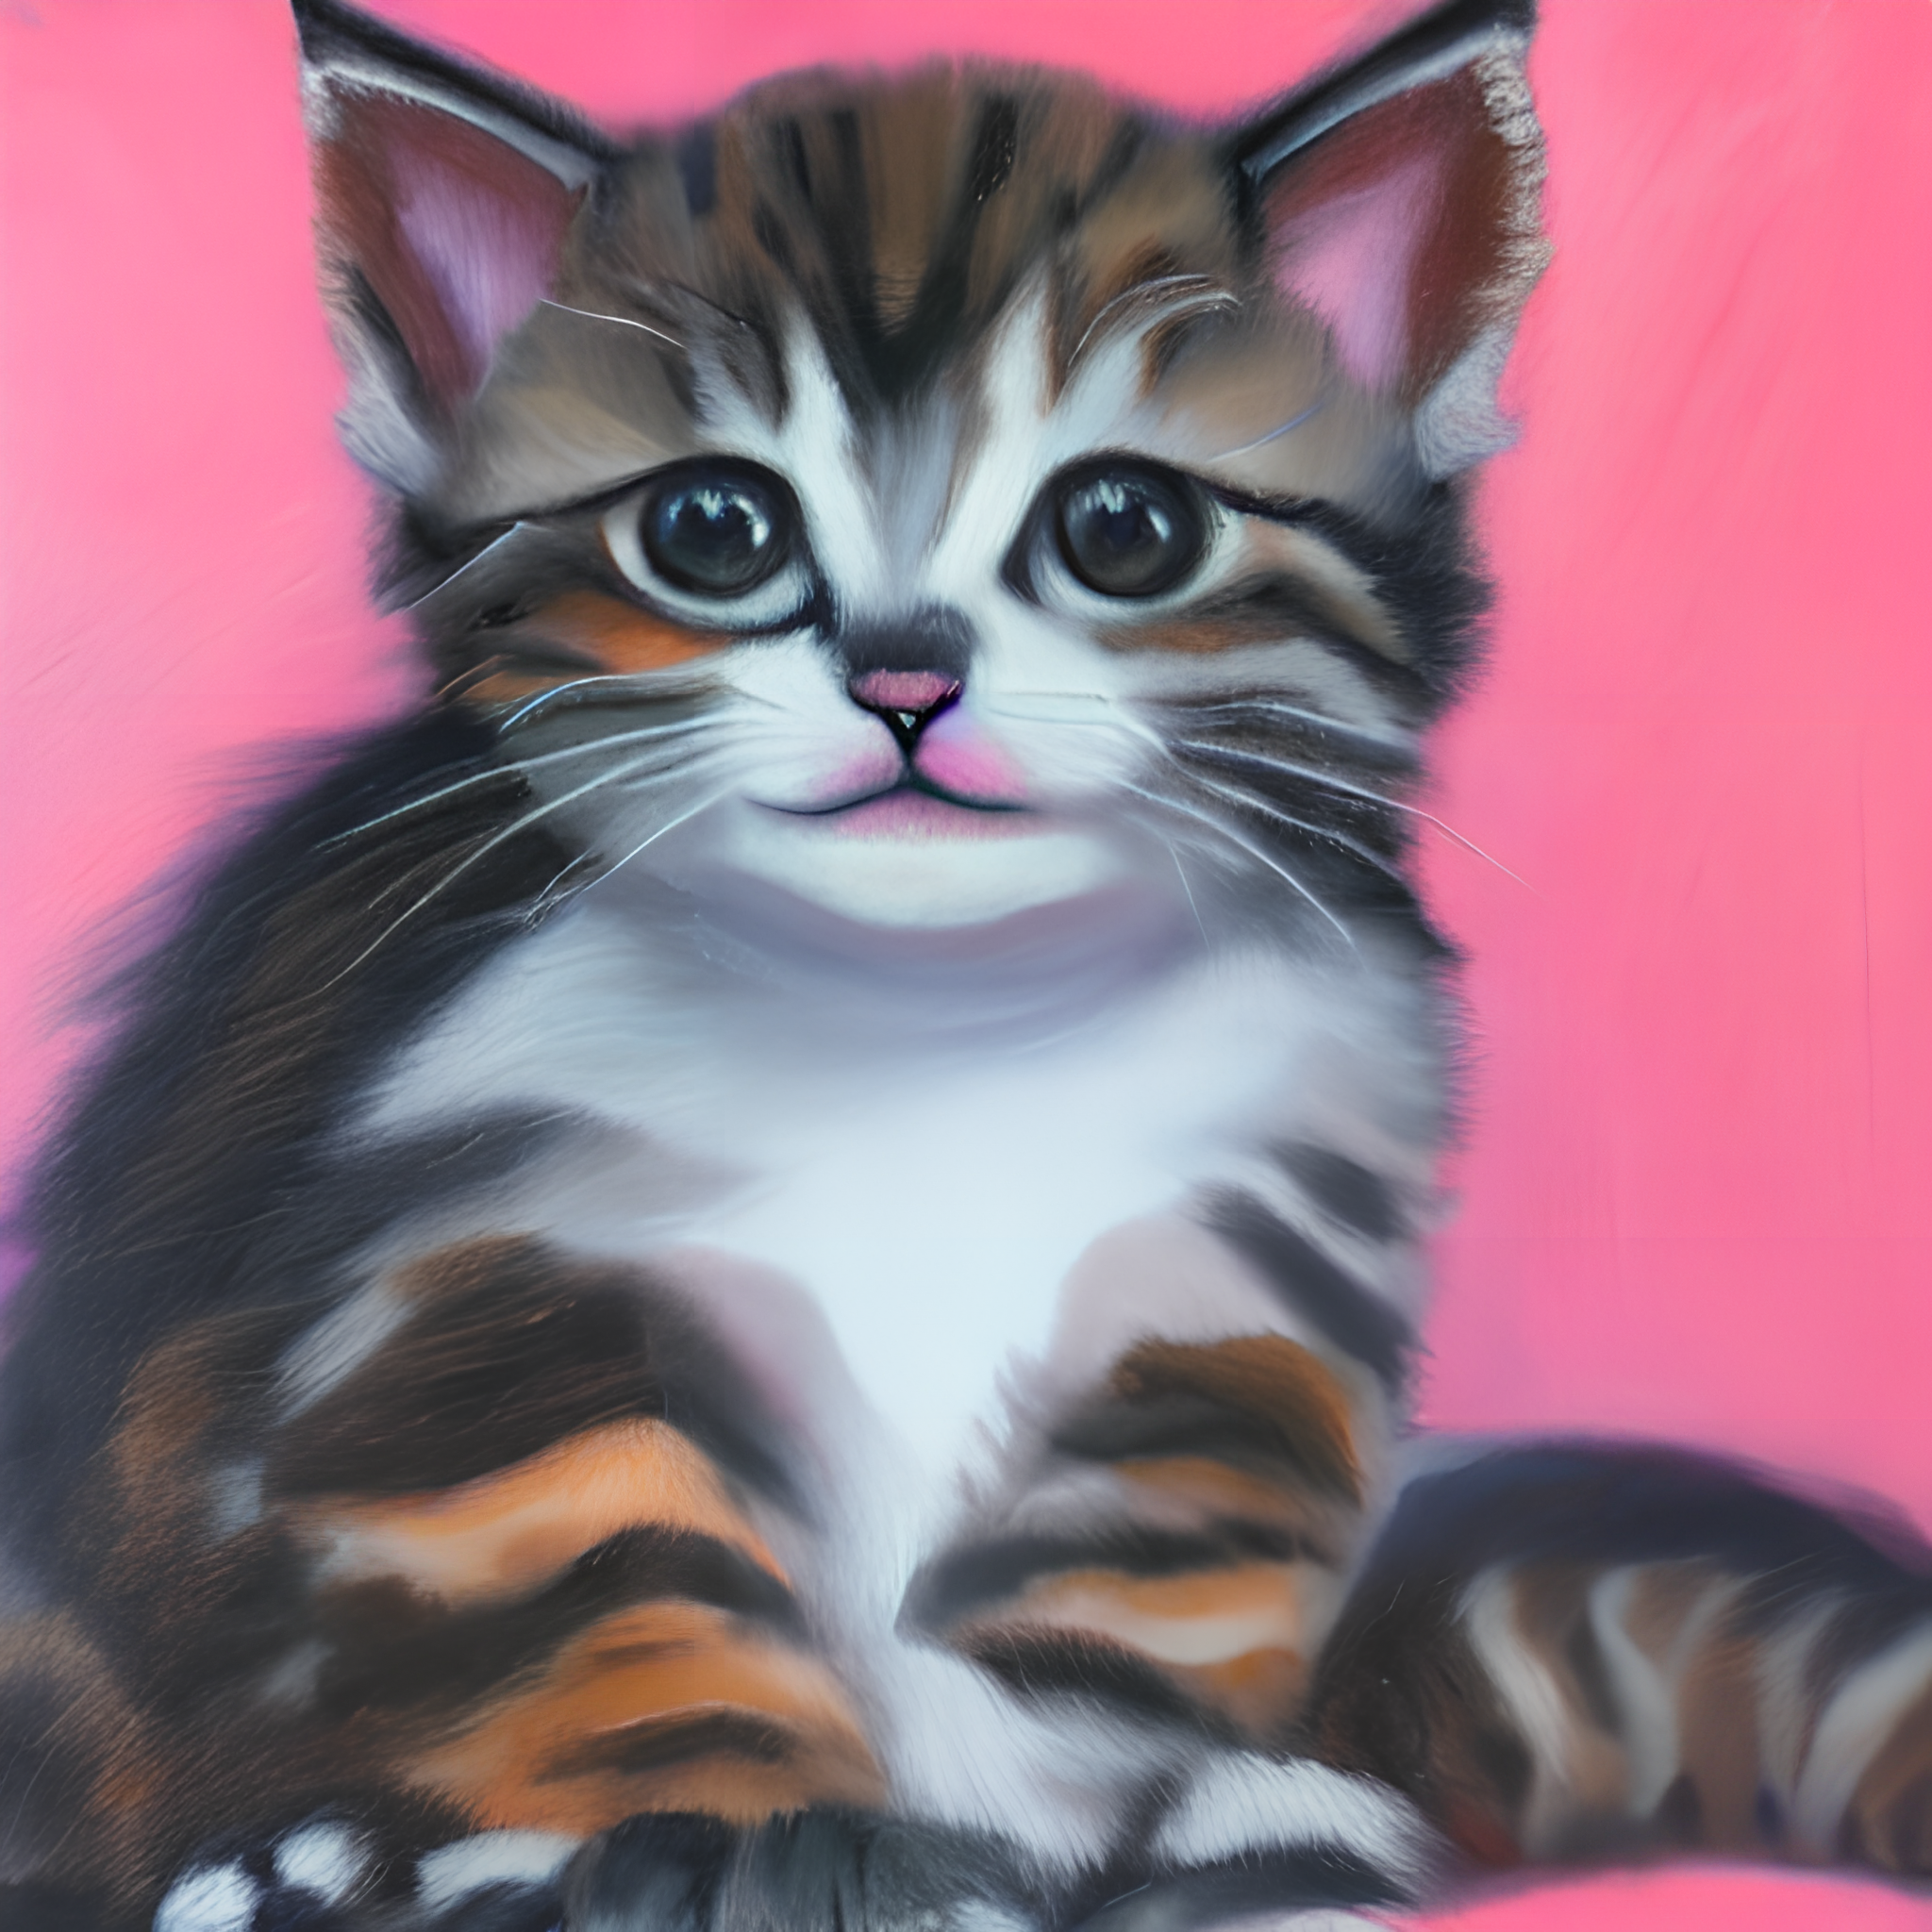

Both upscale 4x resolution, so the image went from 512x512 to 2048x2048. You can repeat the process and upscale it repeatedly, but I haven’t experimented much with doing this.
Post-Production
If you have basic photoshop skills you can post-produce images to remove weird unwanted watermarks/signatures resemblances and also apply extra design on top of it. I’ve been using this for my latest articles, here are some examples:


In the above example we can see how img2img is very powerful in achieving some form while retaining the old one. But there is much more that could be done:

Another example from scratch with SD:


Final Words
Its been 8 months since I wrote an article on how to make images with open-source AI tools and since then the rise o Stable Diffusion, Midjourney, and DALL-E has been exponential and unstoppable.
SD is open source and people are doing amazing things with it, like plugging it into 3d render pipelines and video post-production.
Midjourney pricing and UI are very accessible. It produces beautiful results with small prompts, remaster uses SD for even more stunning results.
DALL-E outpainting is incredible, you can merge/extend existing artwork. More expensive than the rest, but worth the try.
I’m very excited about the future of this tech. Whenever I feel like we had another significant advancement I’ll be sure to make another article! If you like this type of content follow me on Twitter where I often post random images and guides for weird and beautiful tech.